Starting a print on demand business with Shopify is one of the lowest-risk ways to launch an ecommerce brand. You can sell custom products like t-shirts, mugs, posters and phone cases without buying inventory upfront, because your print partner only produces each item after a customer places an order.
In my experience building Shopify apps and working with merchants across fulfilment, upsells and customer support, POD works best when you treat it like a real brand, not a quick side hustle. The stores that win are usually the ones with a clear niche, strong product pages, realistic margins and a proper plan for traffic.
This guide is a fully updated, practical walkthrough of how to start a print on demand business with Shopify in 2026. I will cover setup, providers, designs, pricing, legal basics, marketing, common mistakes and what to do once you start getting orders.
The market is still growing fast. Recent industry estimates put the global print-on-demand market at roughly $11bn to $13bn in 2025, with strong projected growth through 2033. Shopify remains one of the easiest ways to run a POD store because it gives you fast storefront setup, solid app integrations and enough flexibility to scale beyond the basics.
What is print on demand?
Print on demand is a fulfilment model where a product is only printed or produced after a customer buys it. You do not hold stock yourself, and the POD supplier handles printing, packing and shipping.
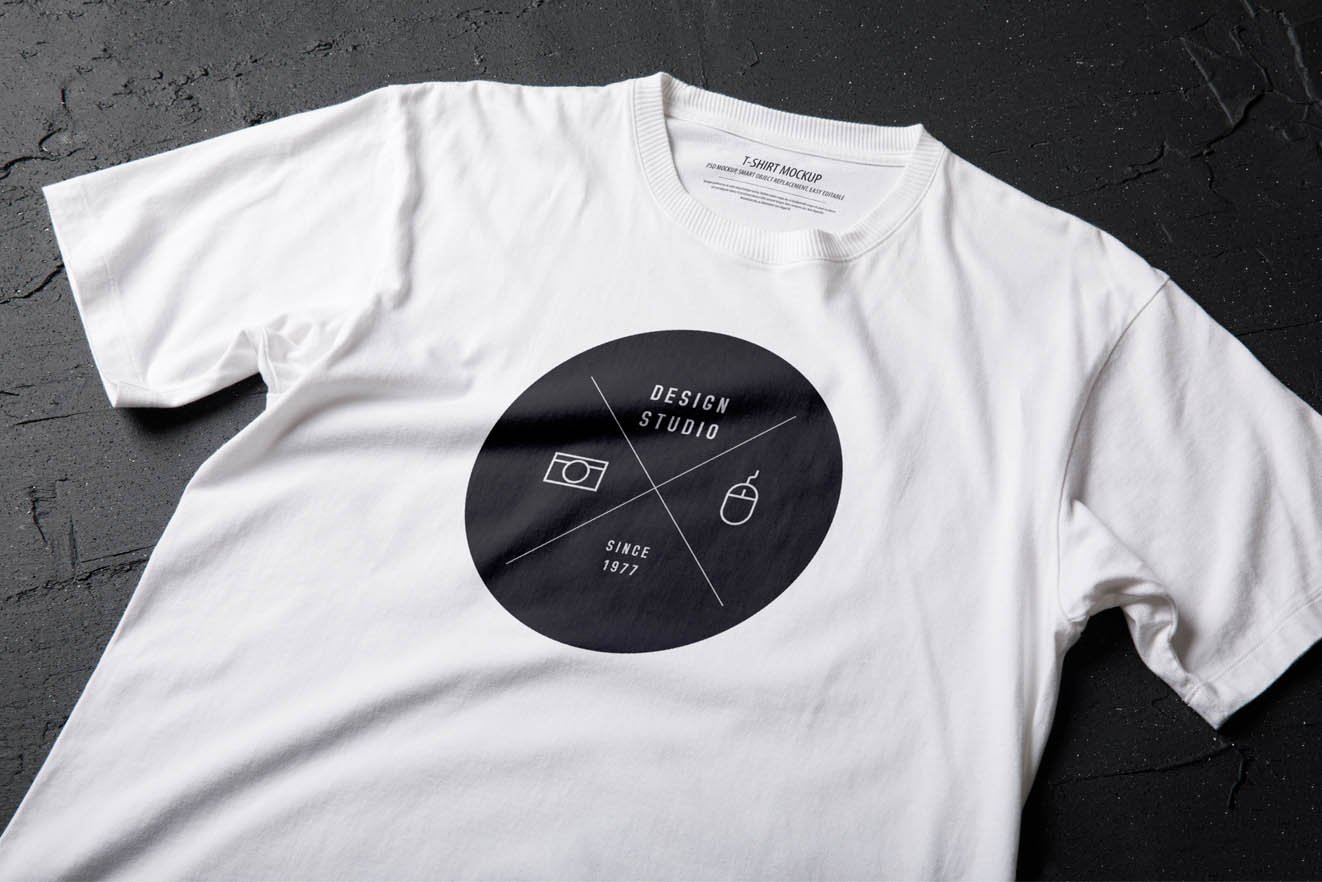
A simple example is a plain t-shirt sitting in a supplier's warehouse. You upload your design, list the product in Shopify, and when someone orders it, the supplier prints that design onto the shirt and sends it directly to the customer. You keep the difference between the retail price and the supplier cost.
This is why POD appeals to first-time founders. You avoid large inventory risk, you can test lots of ideas quickly, and you can launch with a relatively modest budget. The trade-off is that margins are tighter than buying in bulk, and product quality, shipping speed and branding depend heavily on your provider.
If you want a model that sits between pure POD and holding your own stock later, read From pure POD to in-house printing: a Shopify merchant's guide to the hybrid fulfillment model. That transition is often where stronger brands improve margins.
How much does it cost to start a print on demand business with Shopify?
You can usually start a Shopify POD store for around $200 to $1,000. Most of that goes on your Shopify plan, domain name, samples, design tools and early marketing tests.
The bare minimum setup is cheaper than most ecommerce models, but I do not recommend launching with literally no budget. In practice, you need enough to buy samples, test a few creatives and fix the rough edges before sending paid traffic.
| Cost item | Typical cost | Notes |
|---|---|---|
| Shopify Basic | $39/month | Enough for most new POD stores |
| Domain name | $10 to $25/year | Buy a branded domain for credibility |
| POD app | Free to paid | Many have free plans, paid tiers unlock discounts or features |
| Product samples | $50 to $250 | Essential for quality checks and photography |
| Design tools | Free to $60/month | Canva, Adobe or outsourced design help |
| Initial ads | $100 to $500+ | Useful for validating products faster |
If you are bootstrapping, I would prioritise samples over ads at the start. Bad print quality, odd sizing or weak fabric can kill repeat purchase potential before you even begin.
How do I start a print on demand business with Shopify step by step?
The fastest route is simple: pick a niche, set up Shopify, connect a POD app, create products, order samples, then launch with a small catalogue. You do not need 100 products on day one.
Below is the process I would follow if I were launching a new POD store from scratch today.
Step 1: Choose a niche before you build anything
The best POD stores start with a niche, not a generic idea like "funny t-shirts". A niche gives you clearer messaging, better ad targeting and a stronger reason for customers to buy from you instead of a marketplace seller.
Good niches usually sit at the overlap of identity, passion and gifting. Think dog breeds, teachers, runners, gardeners, gaming setups, local pride, new mums, niche humour or hobby communities. The more specific the audience, the easier it is to write product copy that actually converts.
When I analyse stores that struggle, one common issue is that they try to sell to everyone. That usually leads to bland products, weak branding and expensive ads. Niche first, catalogue second is the better order.
- Look for audiences that buy emotionally
- Check whether people already spend money in the niche
- Avoid niches with obvious trade mark issues
- Prefer niches where you can expand into multiple product types
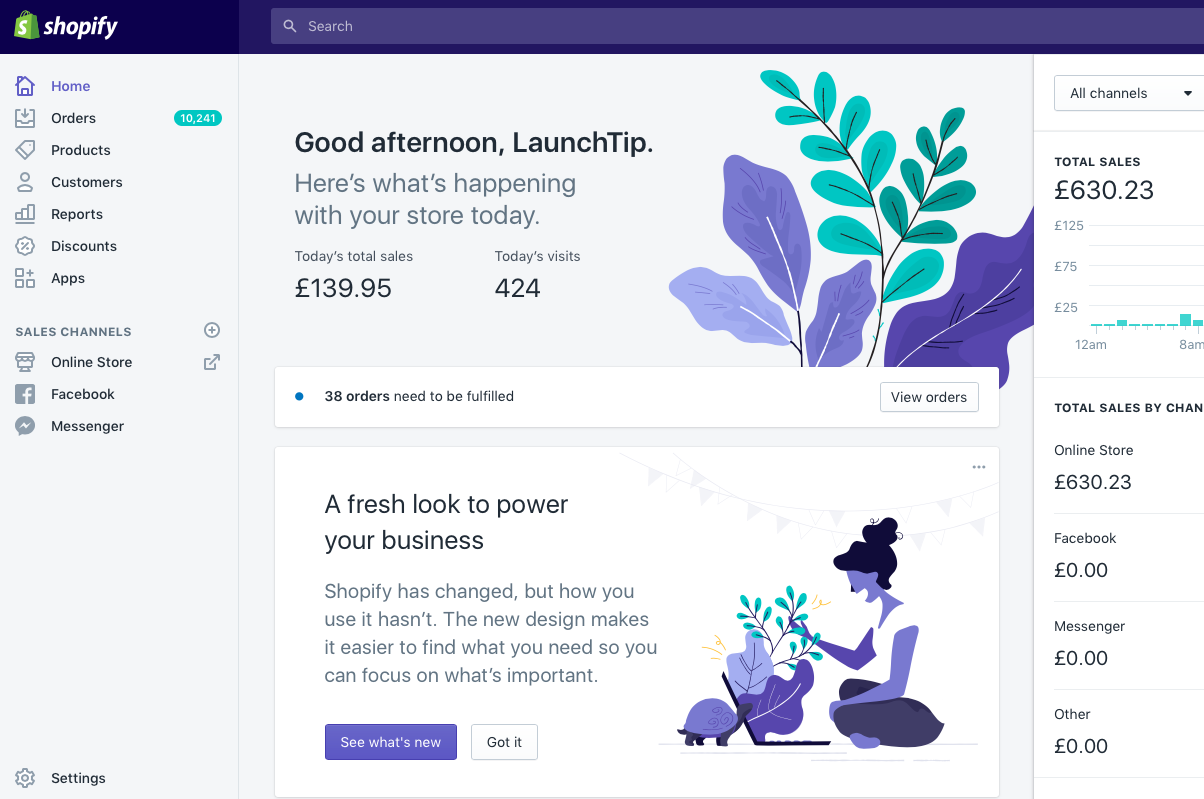
Step 2: Set up your Shopify store
Shopify is the easiest platform for most POD beginners because it handles the storefront, checkout, payments and app integrations in one place. For most new stores, the Basic plan at $39/month is enough.
 Start with a clean theme, a memorable store name and a proper domain. You do not need a heavily customised design. In fact, most new POD stores are better off with a simple, fast theme and clear navigation than with lots of visual clutter.
At minimum, set up these pages and settings before launch:
- Homepage with a clear niche message and featured products
- About page that explains the brand story
- Contact page with email or contact form
- Shipping policy, refund policy and privacy policy
- Shopify Payments and at least one backup payment option where possible
- Tax settings and market settings for your target countries
There is good evidence that offering multiple payment methods can improve conversion rates. The research data behind this brief notes that stores with 3 or more payment options can see around 30% higher conversions. That will vary by market, but the principle is sound: fewer payment barriers usually means more completed checkouts.
If you are new to Shopify store setup in general, the broader principles around structure, product pages and conversion still apply. You may also find How to Maximize Revenue from Your Shopify Product Pages useful once your catalogue is live.
Step 3: Choose the right print on demand provider
The best POD provider depends on your target market, product type and margin goals. There is no single best option for every store.
In my experience, most merchants start with Printful or Printify because the Shopify integration is mature and setup is straightforward. But depending on where your customers are and what you sell, Gelato, Gooten or CustomCat may be a better fit.
If you want to browse fulfilment tools beyond the names below, the Shopify App Store is still the best place to compare options.
![]()
| Provider | Best for | Strengths | Potential drawback |
|---|---|---|---|
|
Printful |
Quality and consistency | Reliable sync, branding options, polished UX | Often pricier than alternatives |
|
Printify |
Product range and supplier choice | Large network, competitive pricing | Quality can vary by print partner |
|
Gooten |
Operational breadth | Wide fulfilment network, broad catalogue | Less beginner mindshare than Printful |
|
Gelato |
Localised production | Strong global print network, useful for faster regional fulfilment | Catalogue fit varies by niche |
|
CustomCat |
US-focused sellers | Competitive US fulfilment options | Less global flexibility |
My quick rule is this: Printful is often best for beginners who value reliability, while Printify is often best if margin and product breadth matter most. Whichever you choose, order samples from the exact supplier and product variant you plan to sell.
Step 4: Install and connect your POD app
Connecting a POD app to Shopify is usually a 15 to 30 minute job. You install the app, authorise access, connect your account and set fulfilment preferences.
Once connected, most providers let you create products inside their dashboard and push them directly into Shopify. Orders then sync automatically, which is exactly why this model is so attractive for solo founders.
When setting up the app, make sure you:
- Enable automatic order routing or auto-fulfilment where appropriate
- Review shipping profiles and estimated delivery times
- Check tax settings and billing setup
- Confirm how returns, lost parcels and reprints are handled
- Test that products sync correctly with variants and images
Automation is great, but do not blindly trust it. In stores I have worked with, variant mismatches and shipping profile mistakes are some of the easiest ways to create customer support issues.
Step 5: Create designs that fit the niche
Design quality matters, but niche relevance matters even more. A simple design with a sharp message can outsell a visually complex design that misses the audience.
You have three realistic options for designs:
- Create them yourself using tools like Canva or Adobe
- Hire a freelance designer for more polished work
- License or commission artwork with clear commercial rights
If you are starting out, Canva is often enough for typography-led products, quote designs and simple layouts. For more advanced apparel graphics, Adobe Illustrator or Photoshop gives you better control over print files.
Make sure you understand basic print requirements:
- Use the correct resolution and canvas size for the product
- Check transparent backgrounds where needed
- Keep text readable at real print size
- Use colours that print well on the garment colour you choose
- Avoid copyrighted characters, logos, slogans or brand references
One of the biggest beginner mistakes is creating designs in a vacuum. Look at what people in the niche already share, wear, joke about and gift to each other. That is usually where the best product ideas come from.
Step 6: Choose products and launch a small catalogue first
Start with 10 to 20 products, not 200. A smaller catalogue is easier to quality-check, easier to market and easier to learn from.
The safest starting products are usually t-shirts, sweatshirts, hoodies, mugs and posters because they are familiar to customers and widely supported by POD providers. But the best product for your brand depends on the niche. Wall art may work better than apparel. Drinkware may work better than tote bags.
I usually recommend launching with:
- 1 to 2 hero products
- 2 to 3 supporting product types
- Multiple design variations within the same brand angle
This gives you enough variety to test without creating operational chaos.
Step 7: Build product pages that actually convert
A POD product page needs to sell trust as much as it sells the design. Customers want to know what the item looks like, how it fits, when it will arrive and whether the quality is worth the price.
Too many POD stores use the default supplier description and one mockup image. That rarely works well. You need a stronger page than that if you want to compete in 2026.
Your product pages should include:
- Clear product titles with niche relevance
- Original descriptions written for humans first
- Multiple mockups and ideally real sample photos
- Size guides for apparel
- Shipping estimates and production times
- Returns and reprint policy details
- Trust signals like reviews, guarantees and secure payment icons
If you want to improve average order value from the start, add sensible cross-sells and bundles. I have written a lot about this because it directly affects profitability for lower-margin stores like POD. See How to upsell on Shopify in 2026 and How to Create Shopify Cart Drawer Upsells That Boost AOV.
Step 8: Price for margin, refunds and ad costs
Pricing a POD product purely by doubling the base cost is usually too simplistic. You need to account for transaction fees, ad spend, discounting, occasional reprints and customer service overhead.
A good starting formula is:
Retail price = product cost + shipping cost + transaction fees + target profit margin + marketing allowance
For example, if a t-shirt costs $12 to produce and average fulfilment plus other costs push your landed cost to $18, selling at $24.99 may look attractive but leaves very little room for paid acquisition. In many niches, a better strategy is to build stronger perceived value and price at $29.99 to $34.99, assuming the product quality justifies it.
Bundles can help here. A mug plus coaster set, a matching poster pair, or buy-two-save-more apparel offers can make the economics work better than relying on a single-item sale.
For more on upsell strategy, see How to Cross-Sell Matching Variants and How to Upsell Subscription Products on Shopify if your brand extends into recurring offers later.
Step 9: Order samples before you launch properly
Always order samples. This is non-negotiable if you want to build a real brand.
Samples let you check print sharpness, garment quality, colour accuracy, packaging and delivery speed. They also give you original content for product photos, social posts and ads. In my experience, stores that use their own sample photography often look far more trustworthy than stores relying only on supplier mockups.
When your samples arrive, assess:
- Fabric feel and garment fit
- Print placement and colour accuracy
- Wash durability
- Packaging quality
- Actual delivery time versus stated estimate
Step 10: Set up shipping, policies and customer expectations
POD customer support problems usually come from unclear expectations. Production time and shipping time are not the same thing, and customers need both explained clearly.
Be transparent on product pages and policy pages. If production takes 2 to 5 business days and shipping takes another 3 to 7, say that clearly. Do not imply Amazon-level speed if your fulfilment model cannot deliver it.
Your policies should cover:
- Production times
- Shipping estimates by country
- Damaged or misprinted items
- Lost parcels
- Returns for custom items
If you sell personalised products, tracking workflows matter even more. Our guide on tracking customised orders in Shopify is useful if you add personalisation later.
Step 11: Test your store before launch
You should place test orders before sending real traffic. This catches checkout issues, tax mistakes, broken links and fulfilment sync problems early.
At minimum, test:
- Add to cart and checkout on mobile and desktop
- Payment methods
- Email notifications
- Order sync to the POD provider
- Shipping rates
- Discount codes
This is also where you should review site speed and accessibility basics. A slow or frustrating storefront hurts conversion no matter how good the products are. If you are tempted to hire cheap "speed experts", read The Hidden Truth About Shopify Speed Optimization Scams first.
How do I market a print on demand store on Shopify?
The best marketing channels for a new POD store are usually short-form social content, paid social ads, email capture and SEO. You do not need every channel at once.
Most beginners focus too much on product creation and not enough on distribution. In reality, marketing is where the business is won or lost.
Use social content to validate designs
Organic content is a low-cost way to test messaging. Show the niche, not just the product. A dog-owner shirt should appear in dog-owner content, not just on a white background.
Reels, TikToks and Pinterest pins can all work depending on your audience. Use your sample products, mockups, niche jokes, behind-the-scenes design clips and gifting angles.
Run small paid tests, not huge campaigns
Start with small ad budgets and test multiple creatives. The goal early on is not scale. It is learning which designs, hooks and audiences get clicks and purchases.
For many POD stores, Meta ads are the first paid channel to test because visual products fit the platform well. But your results will depend heavily on the niche and creative quality.
Capture email from day one
Email is one of the few channels you actually own. Even a basic welcome flow, abandoned cart sequence and post-purchase follow-up can improve revenue meaningfully.
If you are building a long-term brand, email matters even more than the first sale. It is often the bridge between a one-off novelty purchase and a repeat customer.
Optimise for search and AI discovery
SEO still matters for POD, especially for gift intent and niche-specific searches. Create collection pages and product pages around terms people actually search for, not only clever internal names.
Also think beyond Google. More shoppers are discovering products through AI tools and shopping agents. If you want to future-proof your store, read How to Optimize Your Shopify Store for AI Shopping Agents and How to Get Your Shopify Store into ChatGPT.
What are the most common print on demand mistakes to avoid?
The biggest POD mistakes are poor niche selection, weak margins, no samples and unrealistic shipping promises. These issues are far more damaging than choosing the "wrong" theme.
Here are the mistakes I see most often:
- Launching too broad with no clear audience
- Copying trends blindly instead of building a brand angle
- Ignoring trade marks and intellectual property rules
- Using only supplier mockups with no real product validation
- Underpricing and leaving no room for ads or refunds
- Listing too many products too early
- Having weak product pages with generic descriptions
- Hiding shipping times and causing support issues
As a Shopify app developer, I would add one more: installing too many apps too early. Keep your stack lean. Every extra app can affect speed, theme compatibility and maintenance overhead.
Can you really make money with print on demand on Shopify?
Yes, but only if you understand that POD is a business model, not a guaranteed shortcut. It can be profitable, but the easy-money version sold on social media is wildly overstated.
The reason POD still works is simple. It reduces inventory risk and makes product testing cheap. The reason many stores fail is also simple. They launch undifferentiated products with weak branding and no traffic plan.
In my experience, the stores that make money consistently usually do three things well:
- They know exactly who they sell to
- They build strong product pages and creative assets
- They improve AOV and repeat purchase over time
If you can do that, POD can be a very solid entry point into ecommerce. It can also become a stepping stone to private label, in-house fulfilment or hybrid production later on.
What is the best Shopify plan for print on demand?
The best Shopify plan for most new POD stores is Basic Shopify. It includes the essentials you need for products, checkout, payments, discounts and app integrations.
You do not need Shopify Plus for a new POD business. Plus is built for larger operations with more complex requirements. If you eventually hit serious scale, then it is worth reviewing. For now, keep costs sensible and focus on product-market fit. If you are curious about when a bigger plan makes sense, see When to Upgrade Your Store to Shopify Plus.
My recommended launch checklist for a new Shopify POD store
If you want the practical version, this is the checklist I would follow. It is the same broad sequence I would use for a real merchant project.
- Choose a specific niche with emotional buying intent
- Open Shopify and set up a clean, fast storefront
- Connect a POD provider such as Printful or Printify
- Create 10 to 20 products max for launch
- Write original product descriptions and add size guides
- Price with real margin calculations
- Order samples and create your own photos
- Set clear shipping and returns policies
- Test checkout, emails and fulfilment sync
- Launch with organic content, email capture and small ad tests
- Review analytics weekly and cut weak products fast
- Use upsells and bundles to improve AOV
That is the real step-by-step path. Not glamorous, but effective.
Final thoughts on starting a print on demand business with Shopify
Shopify is still one of the best platforms for starting a print on demand business because it makes the technical side relatively easy. The hard part is not the setup. The hard part is choosing the right niche, creating products people actually want and building a store that deserves trust.
If you approach POD like a proper ecommerce brand, it can absolutely work. Start lean, validate quickly, use samples, watch your margins and do not assume volume will fix a weak offer. In my experience, clarity beats complexity almost every time.
If your next focus is conversion and order value rather than setup, I would continue with How to upsell on Shopify leveraging AI and AI-powered upsells: the future of ecommerce conversion. POD margins improve a lot when the store gets better at selling the second item, not just the first.