
Instagram product tagging for Shopify lets you turn posts, Stories and selected content formats into clickable shopping touchpoints that send people straight to your product pages. In practice, that means your Shopify catalogue syncs with Meta, Instagram reviews your account for eligibility, and then you can tag products directly inside the Instagram app.
I have worked with Shopify merchants for years and built apps in this ecosystem myself, so I have seen this setup go smoothly in 15 minutes for one store and take a week of troubleshooting for another. The biggest reason is simple: product tagging is not enabled by Shopify alone. It depends on Meta account structure, catalogue health, policy compliance, and account eligibility.
If your goal is to learn exactly how to setup Instagram product tagging for your Shopify store, this guide walks through the current process, the common approval blockers, and the fixes that actually matter in 2026.
If you are also working on conversion after the click, read How to Maximize Revenue from Your Shopify Product Pages and How to upsell on Shopify in 2026. Getting the tag live is only half the job.
What do you need before you can tag Shopify products on Instagram?
You need a Shopify store with live physical products, an Instagram professional account, a Facebook Page, a Meta Business Manager setup, and a store that meets Instagram Shopping eligibility requirements. If any of those pieces are missing or misconnected, product tagging usually will not appear.
This is where many tutorials stay too vague. In my experience, merchants often think they have "connected Instagram to Shopify" when what they really have is a partial Meta setup with the wrong Page, wrong business asset permissions, or a catalogue tied to an old Business Manager.
- A live Shopify store with at least one published product
- Physical products only for standard Instagram Shopping use cases
- An Instagram Business or Creator account
- A Facebook Page connected to that Instagram account
- A Meta Business Manager account
- A supported market for Instagram Shopping
- A synced Meta catalogue populated from Shopify
- Compliance with Meta Commerce Policies
For policy details, check Meta's official documentation at Instagram Shopping eligibility and Shopify's documentation for Instagram Shopping with Shopify.
How do I connect Shopify to Instagram for product tagging?
The best way to connect Shopify to Instagram is through the Facebook and Instagram by Meta sales channel in Shopify. This creates or connects the right Meta assets, syncs your catalogue, and gives you the cleanest route to approval.
Older guides often refer to the old Instagram sales channel as if it were separate. Today, for most merchants, the correct path is through Shopify admin and Meta's official integration.
- In Shopify Admin, go to Sales channels.
- Add or open Facebook and Instagram by Meta.
- Log in to the correct Facebook account that owns your business assets.
- Connect the correct Meta Business Manager.
- Connect your Facebook Page.
- Connect your Instagram Business or Creator account.
- Allow Shopify to sync your products into a Meta catalogue.
- Wait for catalogue sync and account review to complete.
Shopify's setup flow is straightforward, but the hidden issue is permissions. I have seen stores fail because the person doing setup was an editor on the Facebook Page but not an admin in the Business Manager. If you cannot see the correct assets during setup, stop there and fix permissions first.
What should I check in Meta Business Manager?
You should check that your business owns the Page, Instagram account, and catalogue, and that your user has the right permissions. Most connection issues come from asset ownership conflicts, not from Shopify itself.
Go into Meta Business Manager and confirm:
- Your Facebook Page is listed under business assets
- Your Instagram account is connected to the same business
- Your catalogue exists and is owned by the right business
- You personally have admin access or equivalent permissions
Shopify often creates a catalogue automatically. In many setups, the catalogue naming format resembles your store domain or extension.myshopify.com. If you already had an old catalogue from a previous setup, make sure Instagram is not pointing to the wrong one.
How do I enable Instagram Shopping after connecting Shopify?
After connecting Shopify and syncing your catalogue, you enable shopping in Instagram by selecting the approved catalogue in your Instagram settings. If the Shopping option does not appear, your account is either still under review or something in the setup is incomplete.
This is the step many merchants expect to happen instantly. It rarely does. Meta usually needs time to review the account, products, and business setup.
- Open the Instagram app.
- Go to Settings.
- Open the Business section.
- Tap Shopping if it appears.
- Select the catalogue synced from Shopify.
- Confirm and save.
If approved, your profile can display shopping features and you can start tagging products in eligible content. If not, you may see review status, missing options, or a message saying your account is not eligible yet.

How long does Instagram product tagging approval take?
Instagram product tagging approval usually takes a few days, but it can take longer if Meta needs more review signals or if your business setup is messy. In my experience, 24 to 72 hours is common for clean accounts, while problem accounts can drag on for a week or more.
Approval timing depends on several factors:
- Whether your products comply with Meta Commerce Policies
- Whether your Instagram account looks active and established
- Whether your catalogue data is complete
- Whether your business assets are correctly linked
If your store is brand new, has no social activity, or has thin product pages, that does not automatically mean rejection, but it can slow review. I generally advise merchants to have real product images, clear pricing, shipping information, and at least a few posts on Instagram before applying.
How do I tag products in Instagram posts and carousels?
Once approved, you can tag products when creating a new feed post or carousel by choosing Tag products during the publishing flow. Instagram currently allows up to 20 product tags in a photo feed post, and carousels can include a total of 20 tags across all media items.
This is one area where competitor articles are often outdated. Older content still mentions lower limits. Meta's current help documentation is the best reference point here.
- Create a new Instagram post.
- Select your photo or video.
- Add caption, filters, and creative edits.
- Tap More options or proceed to the tagging step.
- Tap Tag products.
- Search for the product from your synced catalogue.
- Place the tag on the image.
- Publish the post.
You can also add product tags to existing posts in many cases, which is useful when a post starts gaining traction organically. That is one of the easiest wins for merchants who already have strong content on their profile.


For Meta's official instructions, see Add shopping tags to Instagram posts.
Can I tag product variants on Instagram?
Yes, but variant handling can be awkward. If a product has multiple variants, Instagram may require you to select a specific variant tied to the catalogue entry.
This still catches merchants out. If your product title is vague or your variants are poorly named, the tagging experience becomes messy fast. I recommend making variant names clear, especially for size, colour, bundle, or material combinations.
If you sell products with lots of customisation, you may also want to review How to Track Customized Orders in Shopify and How to Add a Rush Order or Production Option to Your Shopify Store, because Instagram traffic often creates edge cases once orders start coming in.
How do I tag Shopify products in Instagram Stories?
You can tag Shopify products in Instagram Stories using the product sticker. For standard Instagram Shopping setups, image-based Stories are the most reliable format for product tagging.
This matches Shopify's own guidance and remains the safest recommendation for merchants. Some broader Instagram features evolve over time, but if you want the least friction, use image Stories with a product sticker.
- Create a new Story.
- Upload or capture an image.
- Tap the sticker icon.
- Select the Product sticker.
- Search for the product in your synced catalogue.
- Place the sticker and publish the Story.
Stories work best when the creative is simple. In my experience, a clean product image, one short line of copy, and one obvious sticker placement usually outperforms overdesigned visuals.
Why is my Instagram account approved but product tagging still not showing?
If your account is approved but product tagging is missing, the most common causes are wrong account type, wrong catalogue selected, broken Page connection, missing permissions, or unpublished products. This is usually fixable without starting from scratch.
This is probably the most frustrating scenario because it feels like you are "nearly there". The reality is that one hidden mismatch can block the UI from showing the shopping option.
Are you using a Business or Creator account?
Instagram product tagging requires a professional account. If you are still on a personal account, shopping features will not appear.
- Open Instagram.
- Tap the menu in the top right.
- Go to Settings and then Account.
- Choose Switch to Professional Account.
- Select Business or Creator.
For most Shopify merchants, I usually recommend Business. It aligns better with Meta's commerce setup and tends to make team access and asset management clearer.
Is your Instagram account connected to the correct Facebook Page?
Your Instagram profile must be connected to the correct Facebook Page. If it is connected to the wrong Page, or to no Page at all, product tagging can fail.
I have seen this happen a lot with agencies, past freelancers, and merchants who created multiple Pages over the years. The account can look connected on the surface while still being tied to the wrong business asset in Meta.
Did you choose the right catalogue in Instagram?
You need to select the correct Shopify-synced catalogue in Instagram's Shopping settings. If you select an old or empty catalogue, the product tag search may return nothing.
Open Instagram Settings > Business > Shopping and confirm the selected catalogue matches the one in Meta Commerce Manager.
Are the products published and available?
Products must be available in both your Shopify online store and your Meta catalogue. Draft products, unavailable products, or products excluded from the sales channel cannot be tagged.
This is especially important if you use product status controls like Shopify's newer publishing options. If you have not seen it yet, read Shopify’s New Unlisted Product Status: What It Means for Your Store. Publishing status can affect discoverability and channel availability in ways merchants miss.
What are the most common reasons Instagram rejects Shopify stores for product tagging?
The most common rejection reasons are policy violations, unsupported product types, weak business legitimacy signals, incomplete website information, and catalogue issues. In my experience, Meta is much stricter about trust signals than many merchants realise.
Here are the blockers I see most often:
- Digital products or prohibited product categories
- Broken product pages or inconsistent pricing
- Missing shipping, returns, or contact information
- A very new Instagram account with no content history
- Commerce policy conflicts
- Catalogue sync errors or missing product data
If your store feels unfinished, fix that before appealing. Add a proper returns policy, contact page, and clean navigation. I would also make sure your site performs well on mobile, because Instagram traffic is overwhelmingly mobile-first. On that point, avoid gimmicky performance advice and read The Hidden Truth About Shopify Speed Optimization Scams.
What is the best troubleshooting process if Instagram Shopping is not working?
The best troubleshooting process is to audit account type, Page connection, Business Manager ownership, catalogue health, product eligibility, and Instagram Shopping settings in that order. Do not start by randomly deleting integrations unless you have confirmed the basics first.
I say that because older workaround lists often recommend ripping everything apart immediately. Sometimes that helps, but more often it creates a second mess on top of the first.
| Problem | Likely cause | Best fix |
|---|---|---|
| Shopping option missing in Instagram | Account still under review or not a professional account | Switch to Business account and wait for review status to update |
| Products do not appear when tagging | Wrong catalogue selected or products not synced | Check Commerce Manager and reselect the correct catalogue |
| Shopify setup cannot see assets | Wrong Facebook login or missing permissions | Use the correct admin account in Meta Business Manager |
| Instagram approved but tags still unavailable | Broken Page connection or stale app session | Reconnect the Facebook Page and refresh the Meta integration |
| Catalogue rejected items | Policy or data quality issues | Fix product titles, images, pricing, and policy compliance |
Should you remove and reconnect everything?
Yes, but only as a last resort. If the setup is clearly corrupted, a full disconnect and reconnect can work, but I would only do it after documenting your current asset structure.
The older reset method from the original article still has some value when the connection is genuinely broken. A careful version of that process is:
- Remove the Facebook and Instagram by Meta channel from Shopify.
- Log out of Facebook and Instagram in your browser.
- Clear browser cache or use an incognito window.
- Check that your Instagram account is linked to the correct Facebook Page.
- Confirm your Facebook Page category reflects a business or shop context where appropriate.
- Reconnect assets in Meta Business Manager.
- Reinstall the Shopify sales channel and complete setup again.
When I test this with merchants, I prefer doing it in a fresh browser profile to avoid old Facebook sessions hijacking the setup flow.
How can I improve my chances of getting approved for Instagram product tagging?
The best way to improve approval odds is to make your store and social presence look like a real, trustworthy retail business. Meta is effectively checking whether your business appears legitimate, compliant, and ready for shoppers.
Here is what I recommend before submitting or resubmitting:
- Publish clear product pages with original photos
- Make sure prices match between Shopify and Meta
- Add returns, shipping, privacy, and contact pages
- Post regularly on Instagram so the account looks active
- Use a branded domain rather than a half-finished storefront
- Keep product titles and variant names clean and descriptive
If your store is also trying to become more visible in AI-driven discovery, I would pair this with How to Get Your Shopify Store into ChatGPT and How to Optimize Your Shopify Store for AI Shopping Agents. Strong data structure helps more than one channel now.
How should you optimise Instagram product tagging for more sales?
The best Instagram product tagging strategy is to tag products on content that already earns attention, then send traffic to high-converting Shopify product pages. Product tagging is a distribution tool, not a conversion fix by itself.
This is where I see the biggest gap between setup guides and real merchant results. Merchants spend hours getting approved, then tag products on weak content and expect miracles.
- Tag products on best-performing posts, not every post
- Use lifestyle imagery rather than plain catalogue shots only
- Keep captions focused on one product angle or one use case
- Send traffic to product pages with reviews, FAQs, and clear delivery information
- Track which tagged products actually convert in Shopify analytics and Meta reporting
If you want to improve average order value from Instagram traffic, pair tagged products with smart upsells. I have written a lot about this because it is core to the apps I build. Start with How to Create Shopify Cart Drawer Upsells That Boost AOV, How to Cross-Sell Matching Variants, and AI-powered upsells: the future of ecommerce conversion.
What is the difference between Instagram product tagging and selling directly on Instagram?
Instagram product tagging usually sends shoppers to your Shopify store for checkout, while broader Instagram commerce features can include more native shop experiences depending on region and account setup. For most Shopify merchants, the practical goal is simple: tag products and send traffic back to your store.
This matters because merchants sometimes assume they need full native Instagram checkout to benefit. They do not. If your tagged content gets qualified clicks to your store, that is already valuable, especially when your own site converts better and gives you more control over upsells, bundles, and customer data.
On the data side, keeping the customer journey on Shopify can also be easier to manage. If that is a priority, read How to Manage Shopify Customer Data Without Losing Sales.
Step-by-step checklist for setting up Instagram product tagging on Shopify
If you want the short version, follow this checklist in order. This is the exact sequence I would use for a merchant starting fresh today.
- Create or confirm a Shopify store with live physical products.
- Switch Instagram to a Business account.
- Create or clean up your Facebook Page.
- Set up Meta Business Manager with the right ownership and permissions.
- Install and configure Facebook and Instagram by Meta in Shopify.
- Connect the correct Business Manager, Page, and Instagram account.
- Confirm the catalogue sync in Commerce Manager.
- Wait for Meta review and approval.
- In Instagram, go to Business > Shopping and select the right catalogue.
- Create a post or Story and use Tag products.
Where can I get official help if the setup still fails?
If the setup still fails, use Shopify Help Centre, Instagram Help, and Meta Commerce Manager diagnostics. Those three sources usually tell you more than generic blog posts.
- Shopify Help: Instagram Shopping
- Instagram Help: Add shopping tags to posts
- Meta Commerce Manager
- Meta Business Manager
If you report a problem to Instagram, be specific. Mention that your Shopify product feed is synced, your store complies with Meta Commerce Policies, and that you want a review of the shopping eligibility status. Clear, factual requests tend to work better than vague frustration.
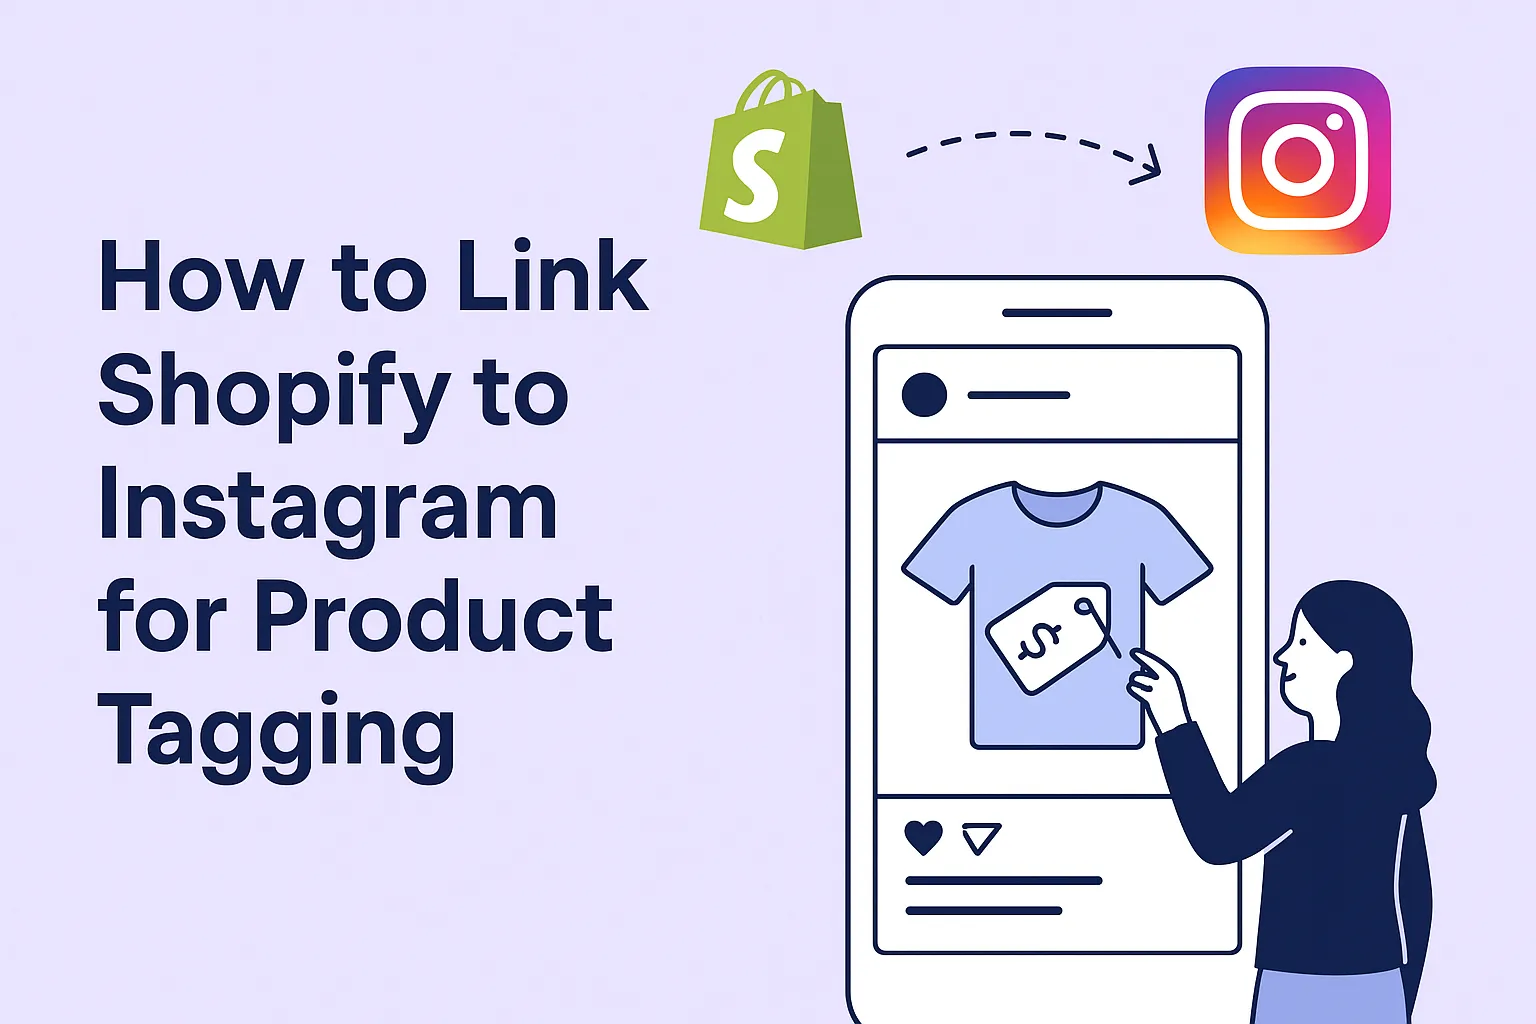
Done properly, Instagram product tagging is still one of the most accessible ways to turn social content into revenue for a Shopify store. The setup is not hard, but the Meta account structure has to be right. Get that foundation right first, and the tagging features usually follow.