Importing products with variants on Shopify is easiest when you use Shopify's native CSV format correctly. The key rule is simple: each variant needs its own row, and every row for the same product must use the same Handle.
I've worked with Shopify product data for years, both while building apps and while helping merchants clean up messy catalogues after failed imports. In practice, most variant import problems come down to CSV structure, option naming mismatches, or merchants trying to update existing products without understanding how Shopify treats variant rows.
If you want the short practical answer, this is the workflow I recommend: create one product manually, export it, use that export as your template, duplicate the rows for each variant, then import and spot-check the results. That one habit avoids a huge percentage of import errors.
How do I import products with variants on Shopify?
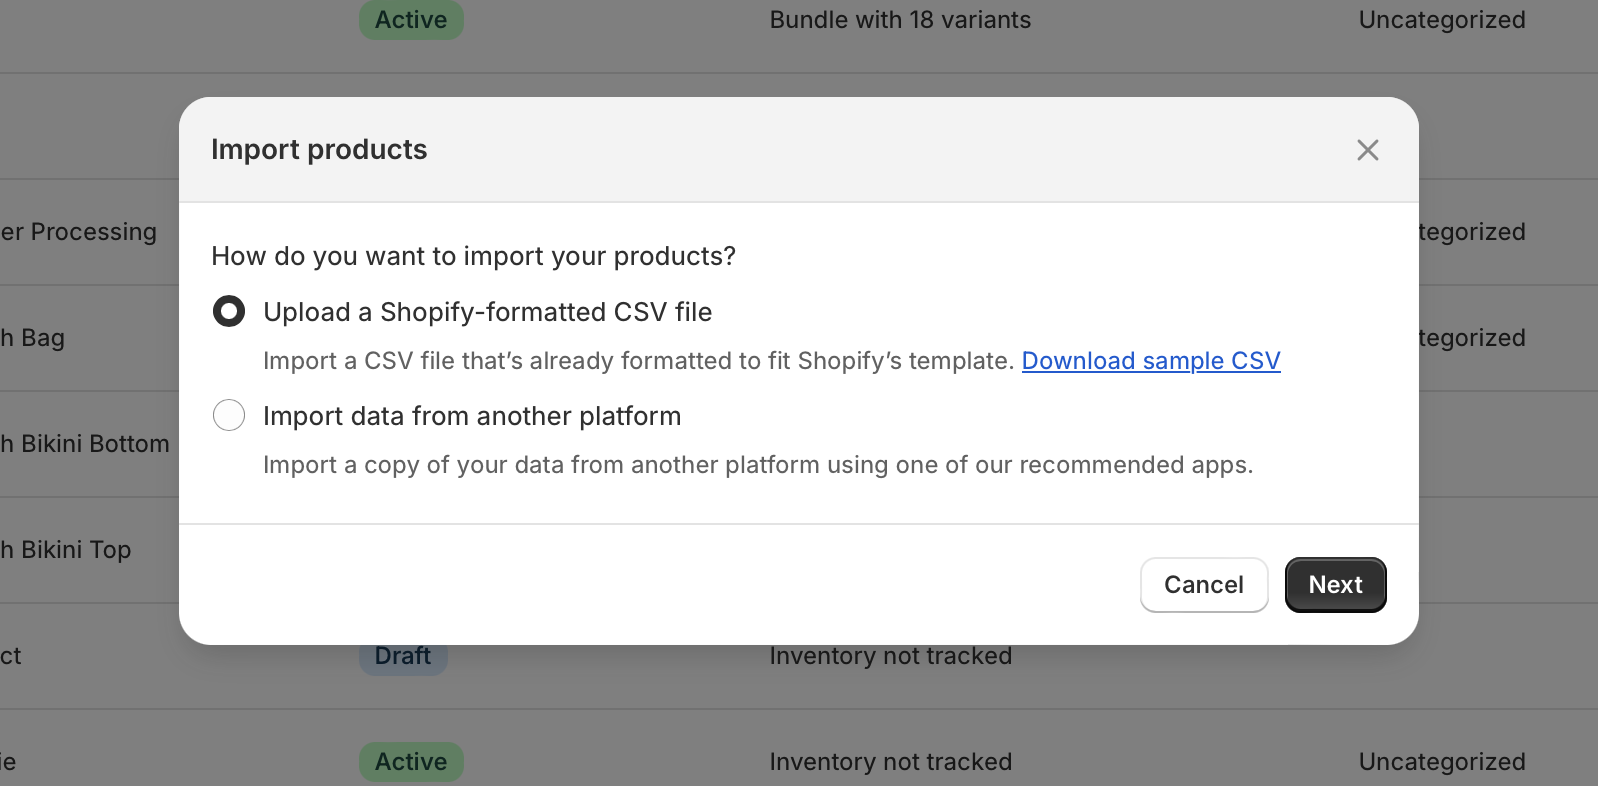
To import products with variants on Shopify, create a CSV where each variant is on a separate row and all rows for one product share the same Handle. Then upload the file in Shopify admin - Products - Import and review the preview before confirming.
Shopify's native importer is still the best starting point for most stores because it's built in, fast enough for standard catalogues, and doesn't require another monthly app subscription. If you're migrating from another platform or updating hundreds of SKUs, it can save hours, as long as the file is structured properly.
What is the fastest safe workflow?
The fastest safe workflow is to export existing products first, edit the CSV, and then re-import it. This reduces formatting mistakes because you're working from Shopify's own column structure rather than guessing the headers.
In my experience, merchants who start from a blank spreadsheet are far more likely to break variant grouping, image rows, or inventory fields. A real Shopify export gives you a working reference for handles, option columns, variant pricing, and image placement.
- In Shopify admin, go to Products.
- Click Export and download a CSV of a few products, or your full catalogue if needed.
- Open the file in Excel, Google Sheets, Numbers, or a proper CSV editor.
- Duplicate and edit rows so each variant has its own line.
- Save the file as UTF-8 CSV.
- Go back to Products - Import.
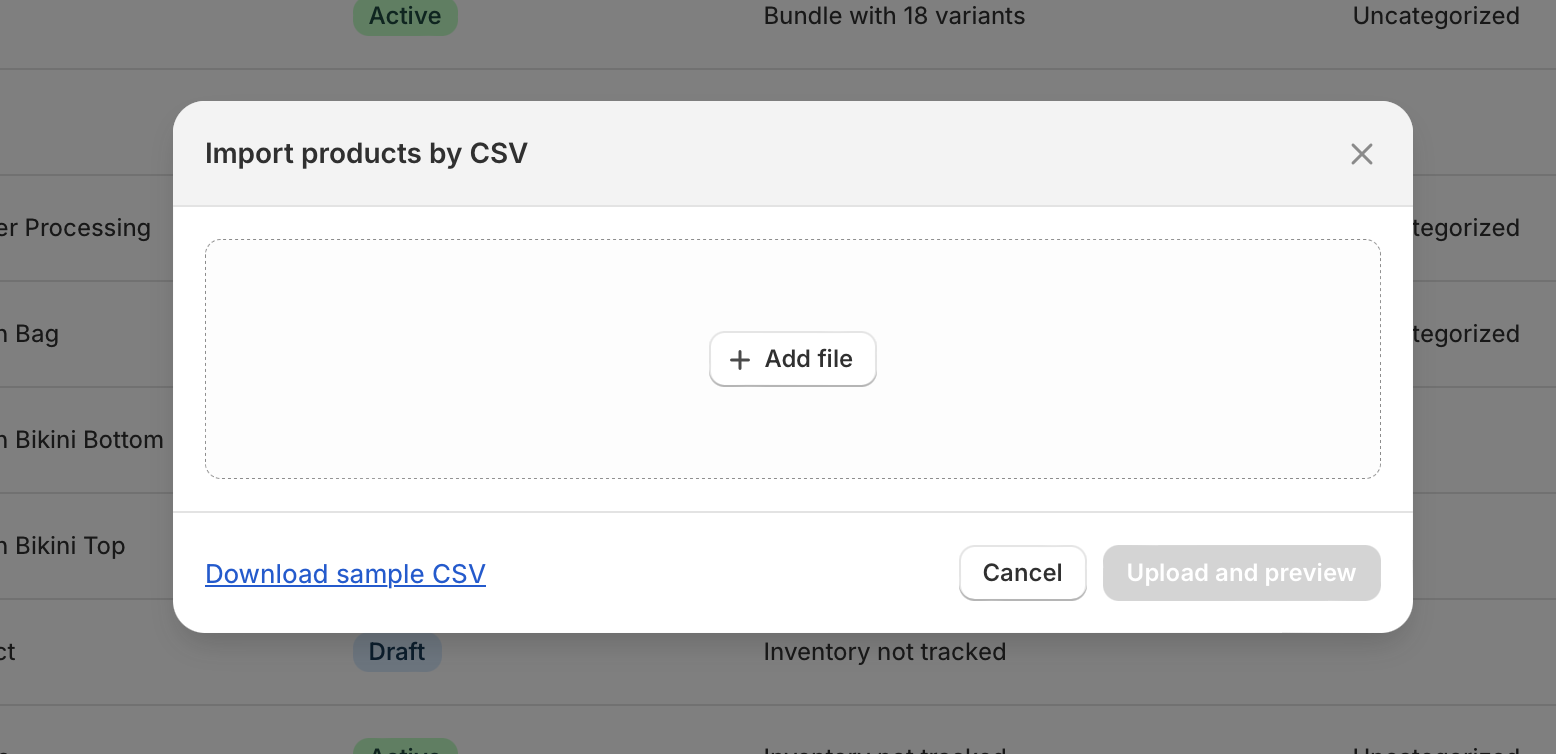
- Upload the file and review the import preview.
- If needed, tick Overwrite products with matching handles.
- Click Import products.
- Spot-check a few imported products, variants, prices, and images.
What should a Shopify variant CSV look like?
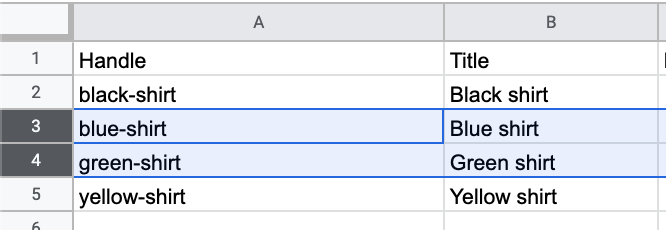
A Shopify variant CSV should repeat the product across multiple rows, with shared product-level data and unique variant-level data on each row. The most important columns are Handle, Title, Option1 Name, Option1 Value, and any variant-specific fields like Variant SKU or Variant Price.
Think of the Handle as the glue that holds the variants together. If the handle changes between rows, Shopify treats them as separate products rather than variants of the same product.
For example, if you're importing a T-shirt with size and colour variants, your CSV might include the same handle on four rows, with combinations like Small / Black, Medium / Black, Small / White, and Medium / White.
| Handle | Title | Option1 Name | Option1 Value | Option2 Name | Option2 Value | Variant SKU | Variant Price |
|---|---|---|---|---|---|---|---|
| classic-tee | Classic Tee | Size | Small | Colour | Black | TEE-S-BLK | 24.99 |
| classic-tee | Classic Tee | Size | Medium | Colour | Black | TEE-M-BLK | 24.99 |
| classic-tee | Classic Tee | Size | Small | Colour | White | TEE-S-WHT | 24.99 |
| classic-tee | Classic Tee | Size | Medium | Colour | White | TEE-M-WHT | 24.99 |
That structure is what Shopify expects. If you're editing a CSV from another system, you usually need to remap or rename columns before importing.
Which columns matter most for variants?
The most important variant columns are Option1 Name/Value, Option2 Name/Value, Option3 Name/Value, plus variant-specific fields like Variant SKU, Variant Price, and Variant Inventory Qty. Without the option columns, Shopify cannot build the variant combinations properly.
Product-level fields such as title, body HTML, vendor, product type, and tags can be repeated across rows. Shopify uses the repeated handle to understand that those rows belong to one parent product.
How do I import products with variants step by step?
The step-by-step process is straightforward: prepare the CSV, upload it, review the preview, and verify the imported data. The real work happens before the upload, when you structure the file cleanly.
Here is the exact process I recommend for most merchants.
1. Export a Shopify template first
Exporting a template first is the safest way to avoid formatting mistakes. Shopify's own export shows you the correct headers, field order, and row logic.
If you're new to CSV imports, create one test product manually with the exact variant setup you want, then export that single product. This is the same advice that comes up repeatedly in Shopify community threads, and honestly, it's still the best beginner-friendly method.
2. Build one row per variant
Each variant must have its own row. If you have 12 size and colour combinations, you need 12 rows for that product.
This is where merchants often go wrong. They list all sizes in one cell or all colours in one row and expect Shopify to generate combinations automatically. Native Shopify CSV import does not generate all combinations for you. You have to provide each combination as a row.
3. Keep the handle identical for the same product
All variants for one product must use the exact same handle. Even a small mismatch, like an extra space or a typo, can split one product into multiple separate products.
When I troubleshoot broken imports, this is one of the first things I check. A handle mismatch is easy to miss in a spreadsheet and can create a lot of cleanup work afterwards.
4. Fill option names and values consistently
Option names must be consistent across every row for that product. If Option1 Name is Size on one row, it should not become size or Sizes on another.
Shopify is strict here. Consistency matters for both import success and clean storefront presentation.
5. Add variant-specific data
Each variant can have its own SKU, barcode, weight, price, compare-at price, image, and inventory values. This is one of the biggest advantages of using CSV instead of manual editing.
If you're managing stock across many products, you may also want to review your wider product and order workflows, especially if you sell customised items. We covered related operational setups in how to track customised orders in Shopify.
6. Save as UTF-8 CSV and import
Your file should be saved as UTF-8 encoded CSV. This helps avoid strange character issues, especially in product titles, descriptions, or international text.
After saving, upload it from Products - Import, review the preview, and then confirm the import.
Why does Shopify show “Option value provided for unknown options”?
The error “Option value provided for unknown options” usually means your CSV includes an option value without a matching option name. In plain English, Shopify sees something like Red or Large but doesn't know whether that belongs to Colour, Size, or another option.
This is one of the most common Shopify import errors, and thankfully it's usually quick to fix once you know what to look for.
What causes this error?
The most common causes are missing option name columns, inconsistent option naming, and partial variant updates where the CSV includes variant fields but not the required option structure.
- Missing Option Names - You filled Option1 Value but left Option1 Name blank.
- Inconsistent naming - One row says Colour, another says Color, and another uses blank cells.
- Updating existing variants incorrectly - You included fields like SKU or price for a variant, but not the matching option columns.
- Broken CSV formatting - Spreadsheet software sometimes introduces hidden formatting or quote issues.
How do I fix it?
To fix the error, make sure every variant row includes the correct Option Name and Option Value pairs. Then check that the naming is identical across every row for that product.
My usual troubleshooting checklist looks like this:
- Check whether Option1 Name is present wherever Option1 Value exists.
- Check for spelling differences such as Colour vs Color.
- Check for accidental spaces before or after values.
- Confirm every product variant row uses the same handle.
- Re-save the file as UTF-8 CSV.
- Test with one product first before importing the full file.
If you're updating an existing catalogue, I strongly recommend testing on one product with 2-3 variants before uploading hundreds of rows. That small test can save you from a painful rollback.
What are Shopify's current variant limits?
Shopify currently supports up to 3 options per product. Variant limits have changed over time, and Shopify documentation now references support for up to 2,048 variants per product in some contexts, which is a major shift from the older 100 variant limit many merchants still know.
This is important because older blog posts often repeat outdated limits. If you're reading advice from a few years ago, double-check it against current Shopify documentation.
That said, not every store setup, app, theme, or workflow handles large variant counts equally well. In my experience building Shopify apps, very large variant catalogues can introduce complications around product page UX, inventory sync, and third-party app compatibility.
If variant limits are a big concern for your store, read our guide on how to remove the 100 variant limit on Shopify. It's especially useful if you're selling products with many size, material, or customisation combinations.
| Limit | Current guidance | What it means in practice |
|---|---|---|
| Options per product | Up to 3 | Examples include Size, Colour, Style |
| Variants per product | Historically 100, newer Shopify docs reference up to 2,048 | Check your store's current capabilities and app compatibility |
| CSV file size | 15 MB max for product CSV imports | Split larger imports into smaller files |
What are the most important CSV requirements before importing?
Before importing, your CSV must match Shopify's format, use valid headers, and stay within Shopify's file limits. A clean CSV prevents failed imports, broken products, and accidental overwrites.
These are the rules I tell merchants to check every time.
- Use UTF-8 encoding so special characters import correctly.
- Keep the file under 15 MB or split it into multiple imports.
- Use one row per variant for products with options.
- Use the same handle for all rows of the same product.
- Keep option names consistent across all rows.
- Do not guess column names - use Shopify's export or sample template.
- Be careful with overwrite imports when updating existing products.
Shopify's official docs on using CSV files to import and export products and importing products with a CSV file are worth bookmarking if you're doing regular catalogue work.
Should I use Shopify's native importer or an app?
The best option depends on catalogue complexity. Shopify's native importer is best for straightforward imports, while a specialist app is better if you need automation, bulk updates, or generated variant combinations.
For many small and mid-sized stores, native import is enough. But if you're dealing with thousands of products, repeated supplier feeds, or complex transformation rules, an app can save serious time.
| Method | Best for | Pros | Cons |
|---|---|---|---|
| Shopify native CSV import | Most stores | Free, built in, simple, reliable for standard imports | No automatic combination generation, limited transformation tools |
| Matrixify | Large catalogues and advanced workflows | Powerful bulk import/export, automation, easier complex data handling | Paid app, more setup to learn |
Apps like Matrixify are particularly useful when you want to generate combinations from option sets or manage recurring imports from suppliers. According to current guidance, it can generate variants using semicolon-separated option values and a generation flag, which is something the native importer does not do on its own.
If your catalogue changes frequently, the paid tool can be worth it. If this is a one-off import of 50 products, I'd start with native CSV.
How can I avoid breaking existing products when updating variants?
To avoid breaking existing products, always export the current product data first and edit that file instead of creating a fresh CSV from scratch. This preserves the existing structure and reduces the risk of deleting or overwriting variants by accident.
This matters even more when you're importing into a live store with traffic, active ads, or synced fulfilment systems. A bad import can break product pages, confuse customers, and create inventory mismatches.
- Back up first by exporting the products you're about to edit.
- Test on a duplicate product if the store is high risk.
- Update a small batch first before importing the full catalogue.
- Be cautious with overwrite settings if handles match existing products.
- Check images and variants after import, not just titles and prices.
If you're also trying to improve product page conversion once the catalogue is clean, these guides may help: how to maximise revenue from your Shopify product pages, how to create Shopify cart drawer upsells, and how to upsell on Shopify.
What if I need to import hundreds or thousands of variant combinations?
If you need to import hundreds or thousands of variant combinations, the native CSV method still works, but it becomes more error-prone and harder to maintain. For large catalogues, an automation-focused import app is often the better long-term choice.
In my experience, once a merchant reaches the point where they're regularly importing supplier feeds, seasonal catalogues, or custom product combinations, the real bottleneck is not the import itself. It's data consistency, repeatability, and clean rollback options.
That is where tools like Matrixify tend to justify themselves. You can also look at Shopify's guidance on adding variants if you're deciding whether a manual, bulk, or app-based method makes more sense.
How do I verify that the import worked properly?
After importing, check a few products manually to make sure the variants, prices, SKUs, images, and inventory values all came through correctly. Never assume a successful import message means every row was perfect.
My post-import checklist is simple and effective:
- Open 3-5 imported products in Shopify admin.
- Confirm the correct number of variants exists.
- Check option names and values on the product page.
- Verify variant SKUs and pricing.
- Preview the storefront to ensure the selector displays properly.
- Check that images are attached to the right products or variants.
- Review inventory if stock values were included.
If your store is also being optimised for AI search and richer product discovery, clean product data matters more than ever. We covered that in how to optimise your Shopify store for AI shopping agents and how to get your Shopify store into ChatGPT.
What are the most common Shopify variant import mistakes?
The most common mistakes are inconsistent handles, missing option names, incorrect CSV encoding, and trying to pack multiple variants into one row. Most failed imports are caused by small formatting issues, not by Shopify itself.
These are the mistakes I see most often:
- Changing the handle between rows for the same product.
- Leaving option name columns blank while filling option values.
- Using different spellings for the same option.
- Saving as the wrong file type instead of UTF-8 CSV.
- Forgetting that each variant needs its own row.
- Overwriting live products without testing first.
- Exceeding file size limits on large imports.
If you're cleaning up a large product catalogue, it can also be worth reviewing broader store structure, especially if collections, tags, and merchandising rules rely on your product data.
What is the best way to import Shopify products with variants if I am a beginner?
The best beginner method is to create one product manually in Shopify, add the variants exactly how you want them, export it, and then copy that structure for the rest of your products. This is the simplest and least risky way to learn Shopify's CSV format.
I've seen this approach work for merchants moving from Etsy, WooCommerce, Amazon, and spreadsheets maintained by suppliers. It is not flashy, but it is reliable, easy to understand, and much less likely to create a broken catalogue.
If you only remember three things from this guide, remember these: one row per variant, same handle for the same product, and matching option names and values. Get those right, and most Shopify variant imports go smoothly.