

If you want to bulk move all inventory to a new location on Shopify, the fastest native method is usually to add the new location, make it the default, and deactivate the old location. Shopify then prompts you to transfer all stocked inventory, unfulfilled orders, and transfers to another active location in one go.
That is the short answer, but there are a few important caveats. In my experience building Shopify apps and helping merchants with operational workflows, the best method depends on whether you are closing a location completely, whether you need to keep both locations active, and how much control you want over the transfer record.
For stores with thousands of SKUs, this can be the difference between a 10-minute admin task and a painful afternoon of spreadsheet clean-up. So in this guide, I will walk through the exact native Shopify options, when to use each one, and where a tool like Matrixify can save you a lot of time.
What is the fastest way to move all inventory to a new location on Shopify?
The fastest way is to deactivate the old location after setting up the new one. Shopify will ask where you want to move the inventory, and you can select the new location to transfer everything at once.
This is the method that most closely matches the search intent behind this topic, and it is also the workaround that appears most often in the Shopify Community and merchant discussions. It is best for full location closures, warehouse moves, and situations where the old location is no longer needed.
When should you use the deactivate-location method?
You should use this method when you want to move everything from Location A to Location B and you do not need to keep Location A active. It is the most efficient native option for a complete move.
If you are only redistributing stock, testing a second warehouse, or splitting inventory across multiple locations, this is probably not the right method. In those cases, Shopify Transfers or a bulk app workflow will give you more control.
How do I bulk move all inventory to a new location on Shopify?
To bulk move all inventory natively, you need to create the new location, set it as the default, and then deactivate the old location. When you deactivate the old location, Shopify prompts you to choose where its inventory should go.
This is the cleanest way to move all stock in one action without manually selecting products one by one.
- From your Shopify admin, go to Settings > Locations.
- Create or activate the new location if it does not already exist.
- Open the new location and make it your default location if appropriate for fulfilment and routing.
- Check that the old location has no outstanding fulfilment issues and that any critical orders are handled first.
- Back in Settings > Locations, open the old location.
- Click Deactivate location.
- When Shopify asks where to move inventory and related items, select the new location.
- Confirm the action.
After confirmation, Shopify transfers the inventory and associated operational data based on the deactivation flow. This is why many merchants consider it the closest thing to a true bulk move-all button inside Shopify.
Important: this works best when you are genuinely retiring the old location. If you plan to reactivate it later, think carefully about fulfilment priorities, shipping rates, local pickup settings, and any apps that depend on location IDs.
What gets moved when you deactivate a Shopify location?
When you deactivate a location, Shopify can transfer inventory, orders, and transfers to another active location. This is why the method is so useful for a complete operational move.
The exact admin prompts can vary slightly over time, but the core behaviour is consistent: Shopify treats location deactivation as a structured move rather than a simple delete. That is also why I recommend merchants do this during a quiet trading window, not in the middle of a busy dispatch day.
What should you check before moving all inventory?
Before moving inventory, you should check unfulfilled orders, app dependencies, shipping settings, and stock accuracy. A bulk move is easy to start but annoying to reverse if your location setup is messy.
In my experience, most inventory-location problems are not caused by the move itself. They are caused by old fulfilment rules, draft orders, POS settings, or third-party apps that still point to the original location.
- Fulfil all urgent orders first so nothing gets stranded at the old location.
- Audit your active sales channels and make sure the new location is enabled where needed.
- Check shipping profiles if rates depend on fulfilment origin.
- Review local pickup or local delivery settings if the old location offered them.
- Check bundles and kits if you use apps that calculate stock across components.
- Export a backup of your product and inventory data before making large changes.
If your store has a lot of operational complexity, I would also document the move in a simple checklist. It sounds basic, but for multi-location stores it prevents a lot of confusion between ops staff, agencies, and app support teams.
How do Shopify inventory transfers work if I want to keep both locations active?
If you need to keep both locations active, use Shopify Transfers instead of deactivating a location. Transfers let you move stock from one active location to another while keeping a record of what was sent, received, and still in transit.
This is the better option for ongoing warehouse operations, retail stores replenishing stock, and merchants who want a formal transfer trail inside Shopify.
How do I create a transfer in Shopify?
You can create a transfer from Products > Transfers. Shopify now supports a more capable transfer workflow, including CSV bulk import of variants into a transfer.
This is a meaningful improvement for larger catalogues because it reduces the need to manually search and add every SKU.
![]()
- From your Shopify admin, go to Products > Transfers.
- Click Create transfer.
- In Origin, choose the location you are moving stock from.
- In Destination, choose the location you are moving stock to.
- In Add products, search and add products manually, or use Import to bulk import variants by CSV.
- Enter the quantity for each variant you want to transfer.
- Optionally add expected arrival, carrier, tracking number, and internal notes.
- Click Save as draft.
- When ready, process the transfer as ready to ship, in progress, or transferred.
- Receive the inventory at the destination when it arrives.
One thing to watch is over-transferring. If you enter a quantity greater than what is available at the origin, Shopify can push the origin location into a negative inventory state depending on your setup. That is rarely what merchants want, so double-check quantities before processing.
Can I bulk import products into a Shopify transfer using CSV?
Yes, Shopify now supports bulk import into transfers using CSV. This is one of the most useful recent improvements for merchants moving large amounts of stock.
For stores with hundreds or thousands of variants, this is much quicker than building the transfer line by line. It also makes it easier to prepare transfer data offline with your warehouse team before importing it into Shopify.
What is the best method for your situation?
The best method depends on whether this is a full location closure, a partial stock move, or a large catalogue bulk update. There is no single perfect workflow for every Shopify store.
Here is how I would choose between the main options.
| Method | Best for | Main advantage | Main limitation |
|---|---|---|---|
| Deactivate old location | Full move to a new location | Fastest native option for moving everything at once | Old location must be deactivated |
| Shopify Transfers | Keeping both locations active | Creates a proper transfer record and shipment workflow | Can still be fiddly for very large catalogues |
| Bulk Editor | Quick stock adjustments by location | No app required | Not a true transfer workflow |
| Matrixify app | 1000+ SKUs, complex multi-location edits | Most flexible bulk option | Requires app install and spreadsheet confidence |
If you are shutting one warehouse and opening another, I would usually pick deactivate old location. If you are managing ongoing stock movements between active sites, I would use Transfers. If you are cleaning up inventory data at scale, I would usually reach for Matrixify.
How do I use the Shopify bulk editor to change inventory by location?
The Shopify bulk editor lets you change inventory quantities across locations, but it is not a true move workflow. It is best used as a workaround when you need to set one location to zero and increase another location manually.
This method is useful for smaller catalogues or one-off corrections. It is less ideal if you want a proper audit trail of stock being transferred.
- From your Shopify admin, go to Products or Products > Inventory.
- Select the products or variants you want to update.
- Click Bulk edit or Edit variants and open the bulk editor.
- Click Columns.
- Add the inventory columns for the relevant locations.
- Set the old location quantity to 0.
- Set the new location quantity to the amount you want available there.
- Save your changes.
This works, but I would be careful using it as a substitute for a real transfer if your team relies on inventory movement records. It is more of a quantity adjustment workflow than an operational transfer workflow.
Is Matrixify the best app for bulk moving Shopify inventory?
Matrixify is one of the best apps for bulk Shopify inventory updates, especially for multi-location stock changes. If you have a large catalogue, it is often faster and more controllable than native admin screens.
I have seen merchants use it for everything from warehouse migrations to seasonal stock reallocation. For advanced users, it is often the most practical option once you get beyond a few hundred variants.
How does Matrixify help with location inventory moves?
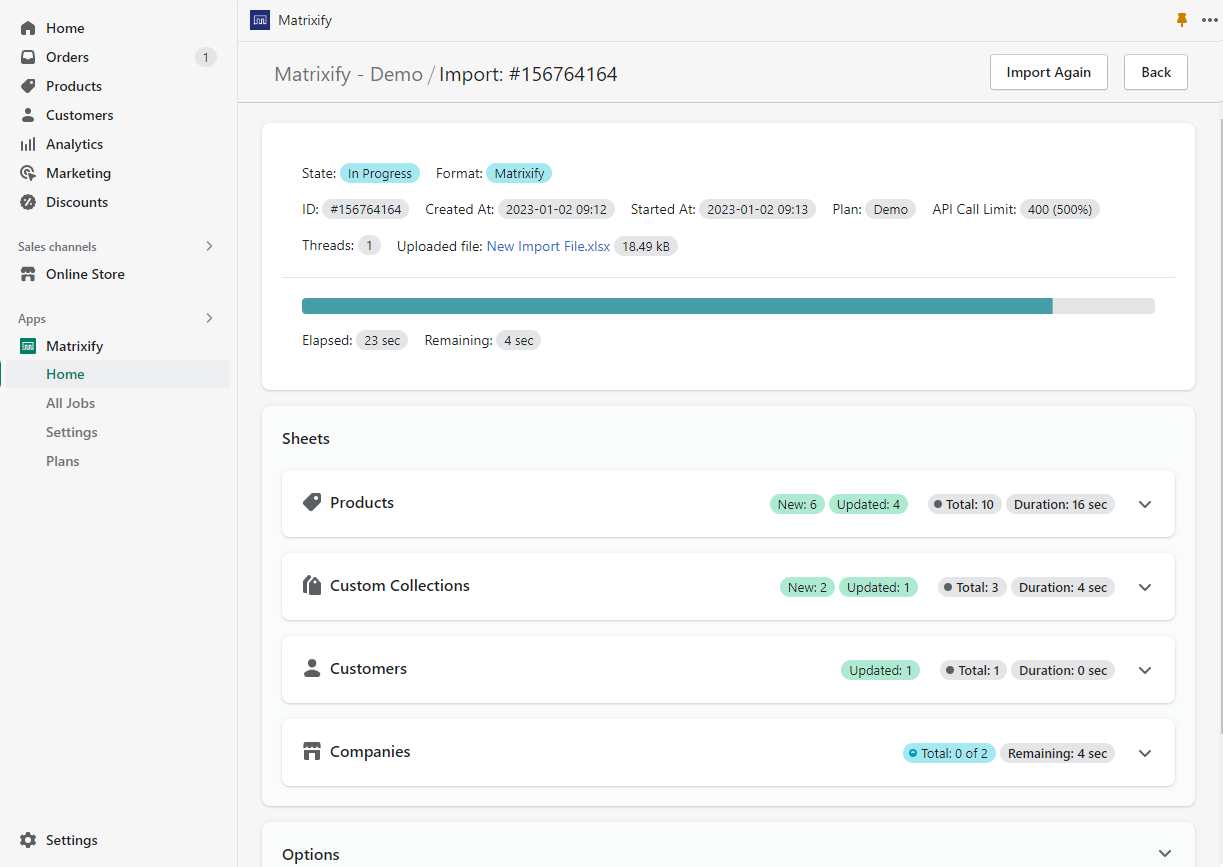
Matrixify lets you export product and inventory data, edit the relevant location columns in a spreadsheet, and import the changes back into Shopify. That makes it ideal for bulk changes where native Shopify feels too manual.
It is especially useful when you need to update columns like Inventory Available: [Location] or Inventory Available Adjust: [Location] across many variants at once.
![]()
You can find the app here: Matrixify.
In practice, the workflow usually looks like this:
- Export your products or inventory data from Matrixify.
- Keep only the columns you need for SKU, variant identification, and location inventory.
- Reduce the old location quantities.
- Increase the new location quantities by the same amount.
- Import the file back into Shopify.
- Spot-check a sample of products before considering the move complete.
For large catalogues, this is often far quicker than using the bulk editor. The trade-off is that you need to be comfortable with spreadsheets and careful with column structure.
Can I move inventory to a third-party fulfilment location?
Yes, Shopify now supports transfers for products that use third-party fulfilment services in more scenarios than before. That said, the exact behaviour depends on how the fulfilment service is configured and whether inventory is managed by Shopify or externally.
If you are moving stock to a 3PL, I always recommend testing with a small subset of SKUs first. Third-party fulfilment setups can introduce edge cases around stock ownership, receiving, and order routing.
If your fulfilment stack is more complex, it is worth reviewing Shopify's documentation on creating and managing inventory transfers and its guidance on multi-location inventory management.
What mistakes should you avoid when moving inventory between Shopify locations?
The biggest mistakes are forgetting unfulfilled orders, moving stock without a backup, and confusing quantity edits with real transfers. These issues create the kind of inventory mismatches that take hours to clean up.
Most of these are avoidable with a bit of planning.
- Do not deactivate a location mid-fulfilment rush. Wait for a quieter period.
- Do not assume all apps will automatically respect the new location. Check app settings and automations.
- Do not skip an export backup. Even if you never need it, it is worth having.
- Do not use the bulk editor if you need a transfer history. Use Transfers instead.
- Do not ignore negative inventory warnings. They usually signal a quantity mismatch.
If you use Shopify Flow, warehouse software, or ERP integrations, test those after the move as well. Location changes can affect automations more than merchants expect.
How do I verify that the inventory move worked correctly?
After the move, you should verify stock counts, fulfilment routing, and product availability at the new location. A successful transfer is not just about quantities changing in admin. It is about your operational setup working normally afterwards.
I normally recommend a simple post-move checklist.
- Check 10 to 20 representative SKUs across different product types.
- Confirm the old location shows zero or expected residual stock.
- Confirm the new location shows the correct available quantity.
- Place a test order if your store is live.
- Verify fulfilment routing chooses the correct location.
- Review any shipping or pickup methods tied to the location.
- Check reporting and inventory valuation tools if you use them.
If you are running promotions or upsells, it is also worth checking that your merchandising still behaves as expected. Inventory availability can affect product recommendations, bundles, and urgency messaging. If that is part of your setup, you might also like my guides on maximising revenue from Shopify product pages, creating cart drawer upsells, and how to upsell on Shopify.
Should you use Shopify's native tools or an app?
For most merchants, Shopify's native tools are enough if the move is straightforward. If you are closing one location completely, the deactivate-location method is usually the simplest answer.
But if you have thousands of variants, multiple warehouses, or a team that prefers spreadsheet workflows, an app is often the better choice. In those cases, Matrixify is the app I would look at first.
| Store situation | Recommended approach | Why |
|---|---|---|
| Closing one warehouse and opening another | Deactivate old location | Fastest complete move |
| Moving stock between two live locations | Shopify Transfers | Maintains transfer records |
| Correcting stock quantities in bulk | Bulk editor | Quick native adjustment |
| Managing 1000+ variants or complex location data | Matrixify | Best bulk control and speed |
What is my recommended workflow for most merchants?
My recommendation is simple: if you are moving all inventory from an old location you no longer need, use the deactivate-location method. It is the closest thing Shopify has to a one-click bulk move.
If you need both locations to remain operational, use Transfers. If the catalogue is large enough that native admin becomes tedious, use Matrixify and work from a structured export.
That approach matches what I have seen work best in real Shopify operations. It is also the clearest answer to the query How to Bulk Move All Inventory to a New Location on Shopify without overcomplicating the process.
Where can I learn more about Shopify inventory and operational setup?
For official guidance, the best sources are Shopify's help docs on inventory transfers and multi-location inventory. These are the references I check when Shopify updates its admin experience.
If you are also reviewing broader store operations, you might find these LaunchTip guides useful: how to track customised orders in Shopify, how to manage Shopify customer data without losing sales, and when to upgrade your store to Shopify Plus.


