

Typically, the Continue Shopping button on a Shopify store will take your customers to your product’s collection page. However, you may want to change the destination to direct customers to a specific page that better suits your business needs.
For instance, imagine you have a meal delivery store and you prepare certain meal boxes each week. The Continue Shopping button currently takes customers to the general menu, which includes items you’re not making that week.
To enhance the customer experience, you want to direct them to your weekly menu instead.
So, how do you change the destination of the Continue Shopping button on Shopify?
Changing the Continue Shopping Button Destination
You can usually find the option to change this destination in your theme’s Editor, specifically under the Cart section in Theme Settings. However, if your theme does not have this built-in option, you will need to edit the code manually.
Steps to Change the Continue Shopping Button Destination
-
Using the Theme Editor (Recommended for Shopify 2.0 Themes):
- Go to your Shopify admin page.
- Navigate to Online Store > Themes.
- Click on Customize for your current theme.
- Click the Theme Settings icon in the left sidebar.
- Look for the Cart section and find the option to change the Continue Shopping button link.
- Many modern themes like Dawn and other Online Store 2.0 themes include this customization option without requiring code changes.
If this option is not available in your theme:
-
Editing the Theme Code:
- Before making any changes, it’s wise to create a duplicate of your theme. This ensures you have a backup to revert to if needed:
- Go to Online Store > Themes.
- Click on Actions > Duplicate.
- Once you have a backup, proceed with editing the code:
- Go to Actions > Edit Code.
- For classic themes, click on Sections and select cart-template.liquid. For Online Store 2.0 themes (like Dawn), you may need to look in main-cart-items.liquid, cart-drawer.liquid, or main-cart-footer.liquid depending on your cart type (page, drawer, or popup).
- Press CTRL + F or CMD + F and search for
routes.all_products_collection_urlor<a href="collections/all"orcontinue_shopping. - Change the URL to your desired destination. For example, replace
{{ routes.all_products_collection_url }}with/collections/weekly-menuor{{ routes.root_url }}to link to your homepage.
Your code should now look something like this:

This change will direct customers to the specified page when they click on Continue Shopping. Note that if you’re using a commercial theme, this method might not work, and you may need to contact the theme vendor for assistance. - Before making any changes, it’s wise to create a duplicate of your theme. This ensures you have a backup to revert to if needed:
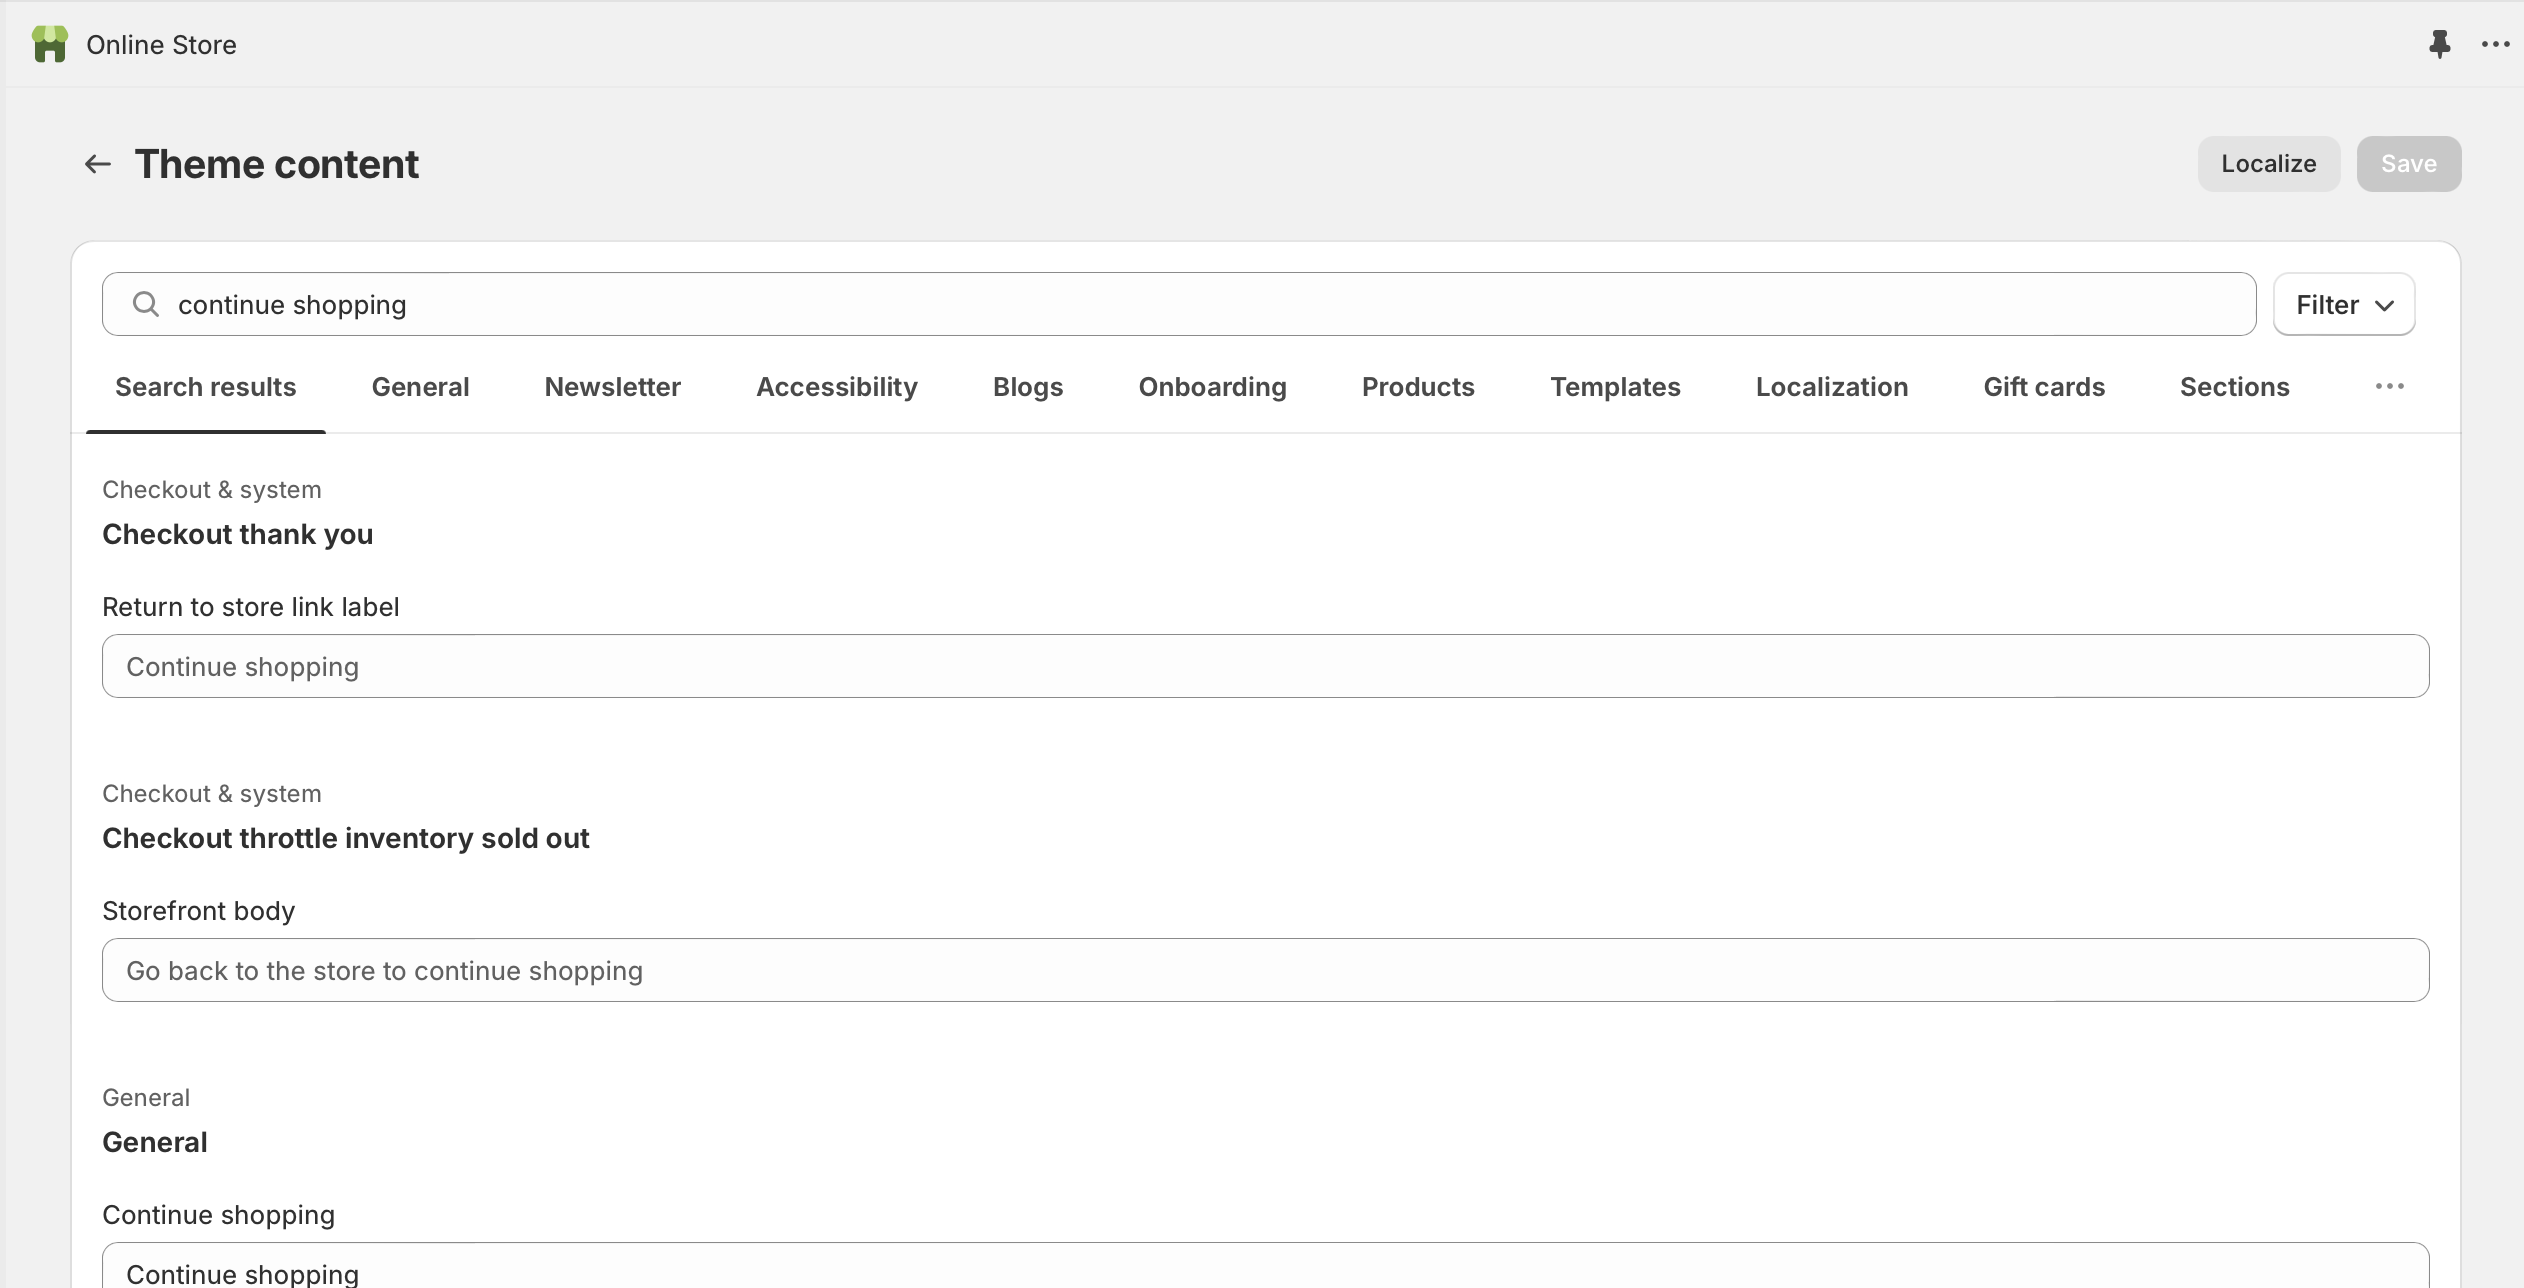
Alternative Method: Using the Language Editor
Another way to edit the Continue Shopping link is through the language editor page. This method can be easier for those unfamiliar with coding and works well with many themes.
-
Edit the Link in the Language Editor:
- Go to your Shopify admin page.
- Navigate to Online Store > Themes > Actions > Edit default theme content.
- Search for the Continue Shopping text using the search bar.
- In the General > Continue browsing HTML box, remove the existing code and replace it with the following:
<a href="Insert URL here">Continue shopping</a>
- Replace “Insert URL here” with your desired URL destination (such as
/collections/your-collection-nameor/for homepage), then click Save.
Advanced Option: Create a “Back” Button Experience
For an enhanced user experience, you can also modify the Continue Shopping button to act as a back button, returning customers to their previous page. This requires adding JavaScript code that uses javascript:history.back() or session storage to track the last visited collection page. This method is particularly useful for stores with multiple collections, as it provides a more seamless browsing experience.
Conclusion
Customizing the Continue Shopping button in your Shopify store is a great way to direct customers to the most relevant parts of your site, enhancing their shopping experience. Whether you’re guiding them to a weekly menu, a specific collection, or a promotional page, these methods allow you to tailor the shopping journey to better meet your business goals.
By either using the theme editor settings (available in most modern Shopify 2.0 themes), editing the theme code directly, or utilizing the language editor, you can ensure your customers find exactly what they need, improving satisfaction and potentially increasing sales. Remember to always create a backup of your theme before making code changes, and test thoroughly across different devices to ensure the best user experience.