
Kund:innen in deinem Shopify-Shop zur Kontoerstellung zu verpflichten oder sie dazu zu ermutigen, kann deinem Business enorm helfen. Ein Konto erhöht die Wahrscheinlichkeit von Wiederholungskäufen, da Kund:innen eher für ein zweites und drittes Einkaufserlebnis zurückkehren. Tatsächlich liegt die durchschnittliche Quote wiederkehrender Kund:innen bei Shopify-Shops bei 27–28 %, wobei Stammkund:innen 44 % des Gesamtumsatzes generieren, obwohl sie nur 21 % der Kundschaft ausmachen.
Außerdem liefern Kundenkonten wertvolle E-Mail-Adressen und Informationen für Marketingmaßnahmen. Gespeicherte Kundendaten vereinfachen zukünftige Käufe und reduzieren Warenkorbabbrüche.
Um diese Vorteile optimal zu nutzen, solltest du einen „Mein Konto“-Link sowohl im Header als auch im Footer deiner Website gut sichtbar platzieren. So förderst du die Kontoerstellung und stärkst das Vertrauen der Kund:innen.
Einen „Mein Konto“-Link im Header und Footer hinzufügen
-
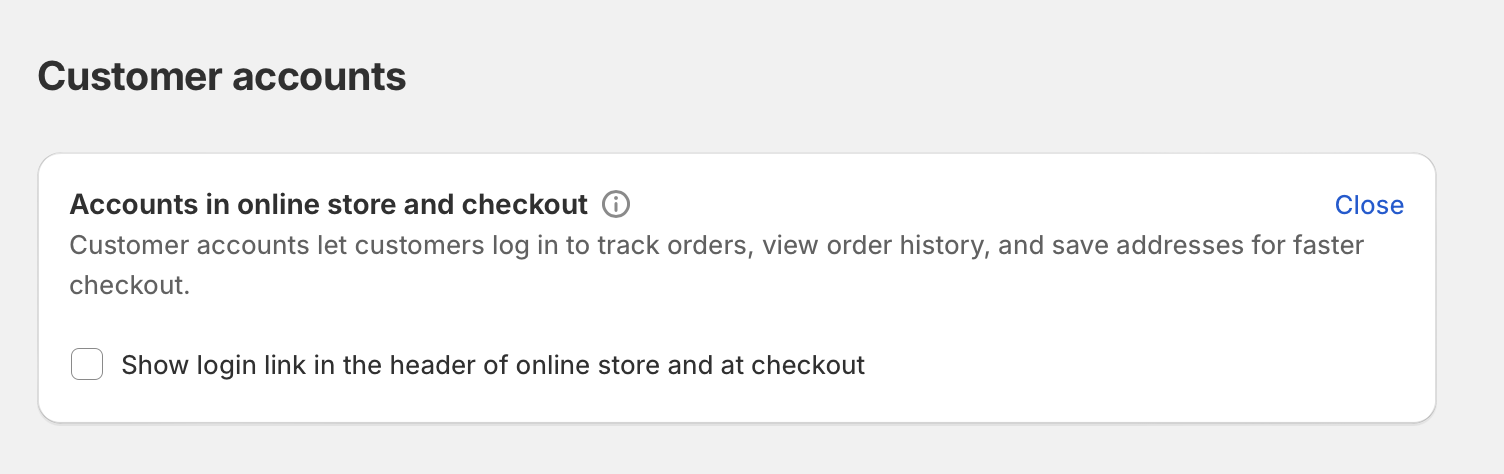
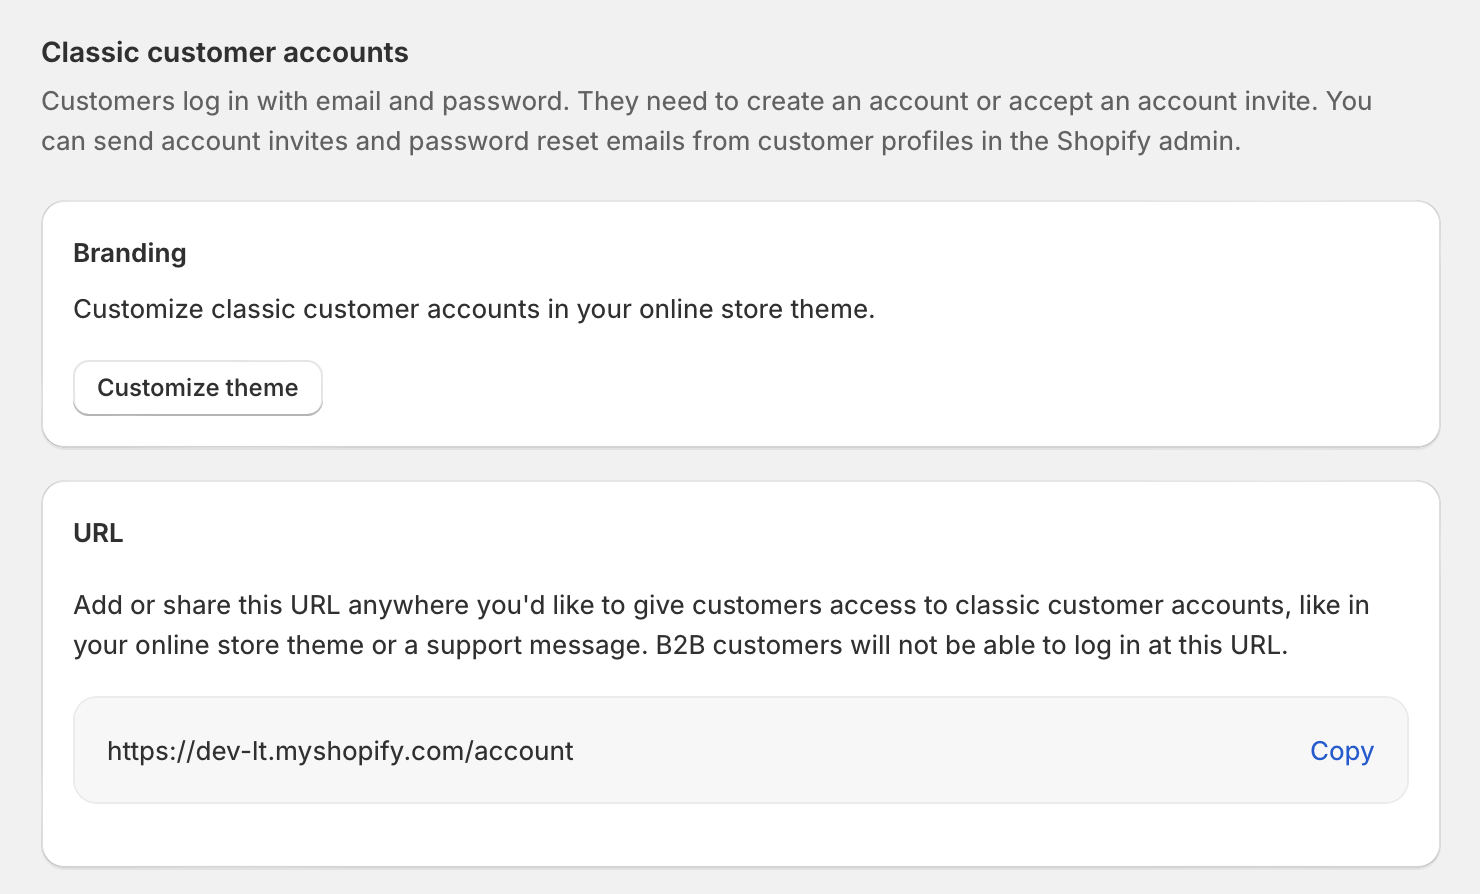
Kundenkonto-Einstellungen prüfen: Seit Dezember 2024 hat Shopify „New Customer Accounts“ offiziell in „Customer Accounts“ umbenannt. Die modernen Kundenkonto-Einstellungen findest du unter Einstellungen > Customer accounts. Die Legacy-Kundenkonto-Einstellungen (die ältere Version mit E-Mail und Passwort) sind weiterhin unter Einstellungen > Customer accounts verfügbar – inklusive der Option, zwischen den Versionen zu wechseln. Wenn du unter Accounts in Online Store and Checkout auf „Edit“ klickst, wird die Option angezeigt, einen Link einzublenden.
-
Zum Footer-Menü hinzufügen:
- Klicke auf das Konto-Symbol und kopiere den Link zur Login-Seite.
- Gehe zu Admin > Online Store > Navigation > Footer Menu.
- Füge unter Add Menu Item den Link zur Login-Seite ein.
- Klicke auf Add und Save Menu.
Moderne Customer Accounts (früher „New Customer Accounts“)
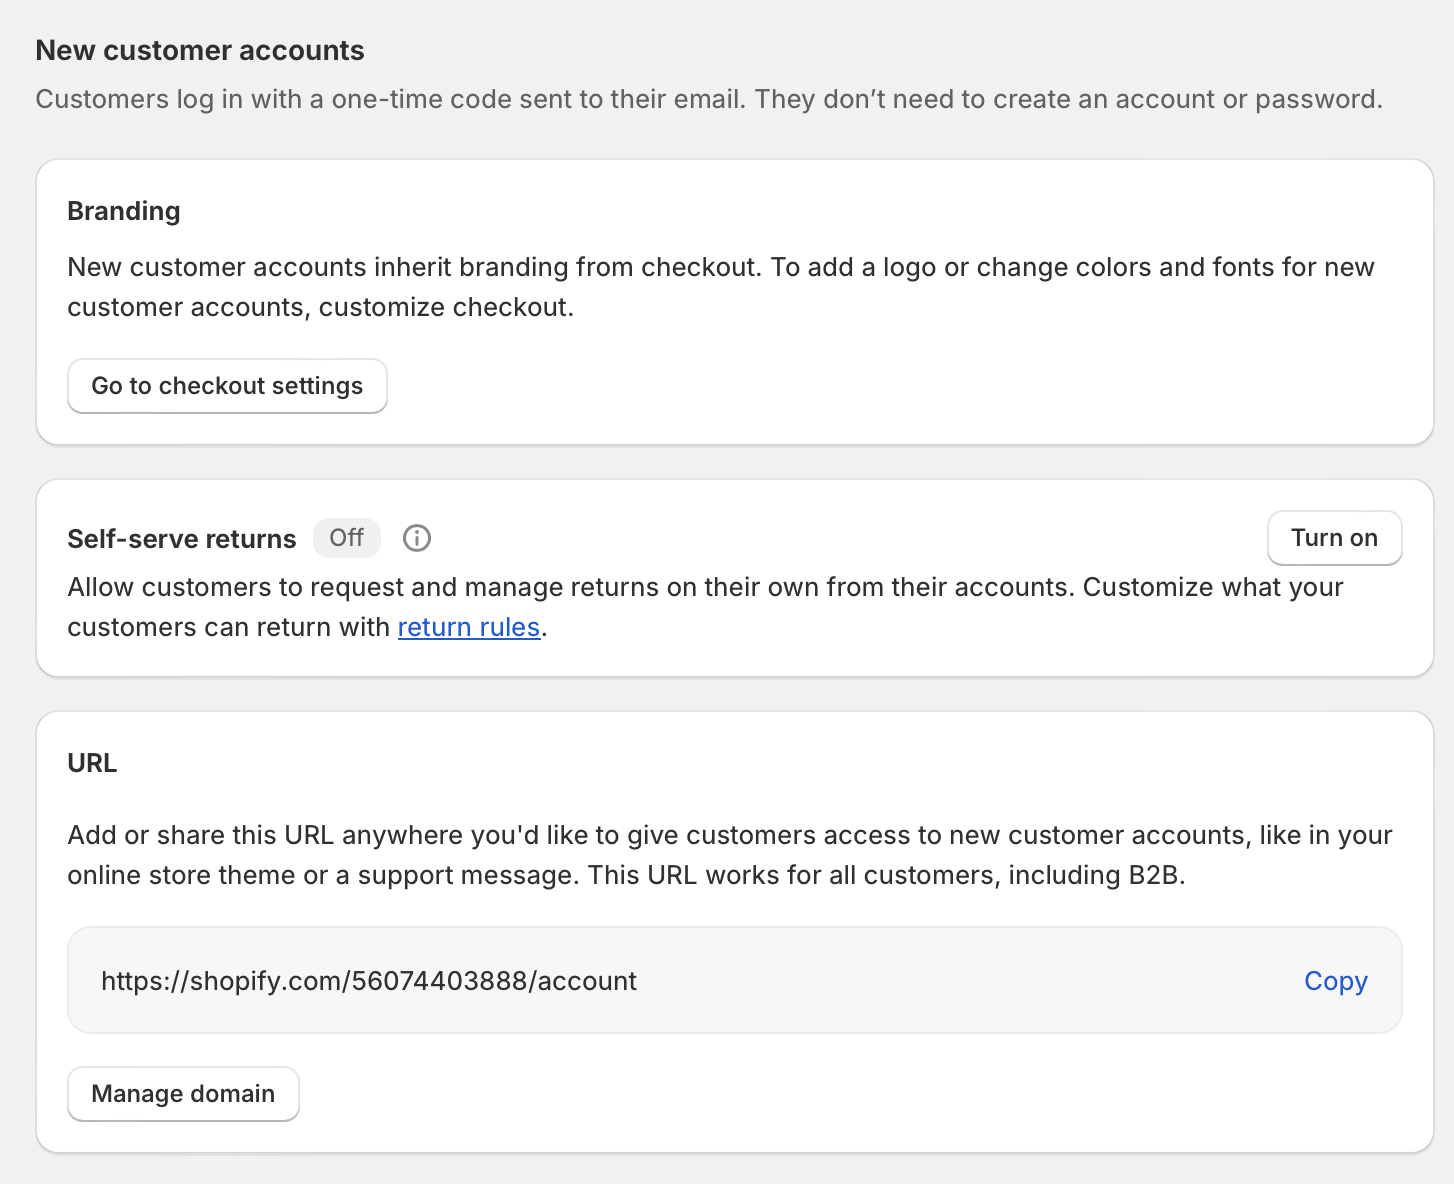
Shopifys modernes Kundenkonto-System hebt die Trennung zwischen Checkout für Kund:innen und Gast-Checkout auf. Kund:innen können sich mit einem einmaligen 6-stelligen Verifizierungscode anmelden, der per E-Mail gesendet wird – ohne ein klassisches Konto oder Passwort anlegen zu müssen. Diese passwortlose Authentifizierung bietet durch tokenbasierte Anmeldung mehr Sicherheit und reduziert das Risiko von Zugangsdaten-Diebstahl deutlich.
Die modernen Customer Accounts beinhalten inzwischen Erweiterbarkeitsfunktionen für Treueprogramme, Abonnements und Umtausch – alles direkt in das Kontoerlebnis integriert. Kund:innen können außerdem ihre E-Mail-Adresse direkt im Konto aktualisieren, was Supportanfragen reduziert. Wenn du auf moderne Customer Accounts umstellst, werden Links zu Legacy-Konten automatisch auf das neue System weitergeleitet.
Vorteile von Customer Accounts
- Mehr Wiederholungskäufe: Kund:innen mit Konto kehren deutlich häufiger für zukünftige Käufe zurück. Über 50 % der Shopify-Shops profitieren von Wiederholungskäufen, wobei loyale Kund:innen 44 % des Gesamtumsatzes generieren.
- Marketing-Chancen: Erhalte Zugriff auf E-Mail-Adressen und Kundendaten für gezielte Kampagnen und personalisierte Erlebnisse.
- Weniger Warenkorbabbrüche: Gespeicherte Informationen vereinfachen zukünftige Käufe und senken die Abbruchrate. Shop Pay-Nutzer:innen erzielen Conversion-Raten, die etwa 50 % höher sind als beim Gast-Checkout.
- Mehr Sicherheit: Moderne passwortlose Logins vermeiden typische Probleme wie vergessene Passwörter und bieten besseren Schutz vor Zugangsdaten-Diebstahl.
Fazit
Einen „Mein Konto“-Link sowohl im Header als auch im Footer deines Shopify-Shops zu platzieren, erhöht die Wahrscheinlichkeit, dass Kund:innen ein Konto erstellen – und verbessert damit sowohl das Einkaufserlebnis als auch deine internen Abläufe.
Indem du diese Funktion leicht zugänglich machst, förderst du Wiederholungskäufe, vereinfachst den Checkout und gewinnst wertvolle Kundeneinblicke fürs Marketing. Mit Shopifys modernen Customer Accounts inklusive passwortlosem Login und integrierter Erweiterbarkeit ist das Kundenerlebnis nahtloser denn je.