

Style Settings
Styling Delivery Timer is simple. Use the following section to pick colours, font size, spacing, alignment and simple positions:

The position element depicts where the Delivery Timer will be displayed. There are a handful of default locations which are compatible with most Shopify themes. If you find it isn’t outputting exactly where you want it to, you can get more control by inserting the script manually. To do this, you need to be comftoable with editing your theme’s code. Information on how to do this can be found here.
Margin top and bottom provide spacing either side of the timer.
The bottom search box allows for you to select a collection where delivery timer will not be shown. This is great if you have custom products that take longer to ship for example. To do this, simply create a collection in your Shopify store that contains the products you don’t want the timer to show on then come back and select that collection.
Styling the Message
As well as styling the output of the message using the above settings, you can also style the message itself.
Below, we have wrapped the message using bold html tags. <b>…</b>
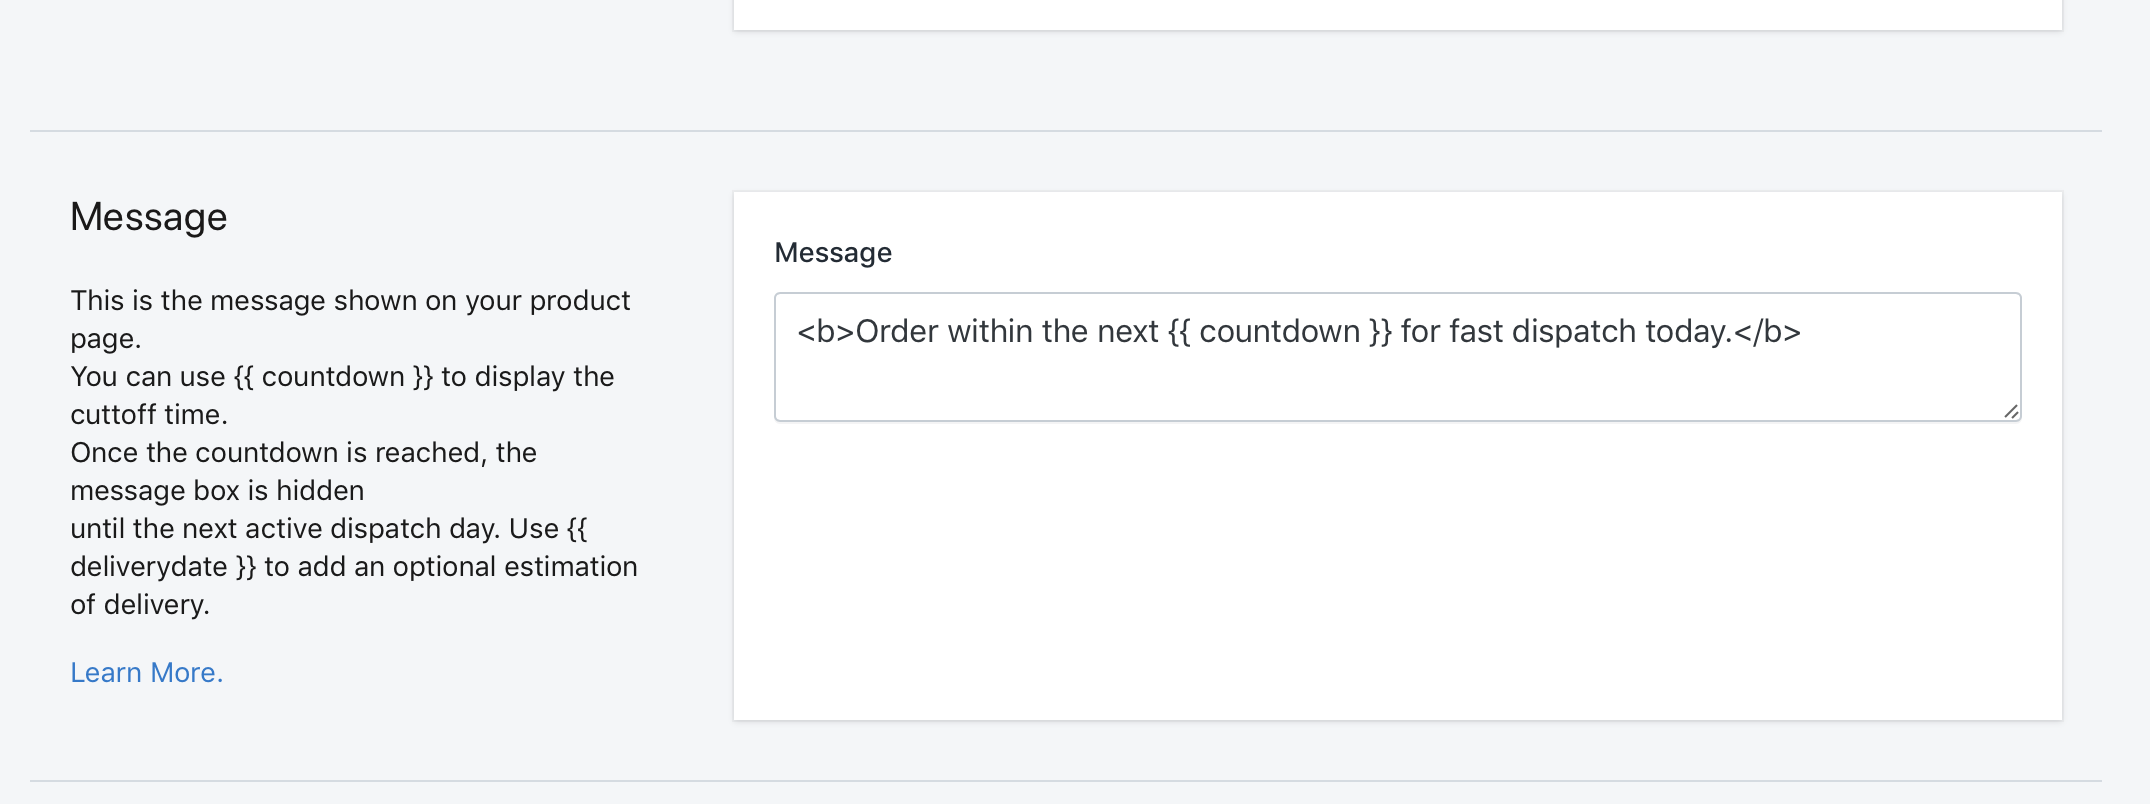
Delivery Timer supports basic HTML styling tags.
Delivery Timer also supports emojis! Simply paste an emoji in. We recommend grabbing the emojis from emojipedia. 😊
Styling with CSS
If you are knowledgeable with CSS, you can get full control over the message styling including colours, paddings, margins, fonts and other CSS attributes.
Your developer will be able to style using CSS by targeting the classes. If you don’t have access to your own developer, you can try the Shopify Experts directory or places like Upwork and fiverr.