
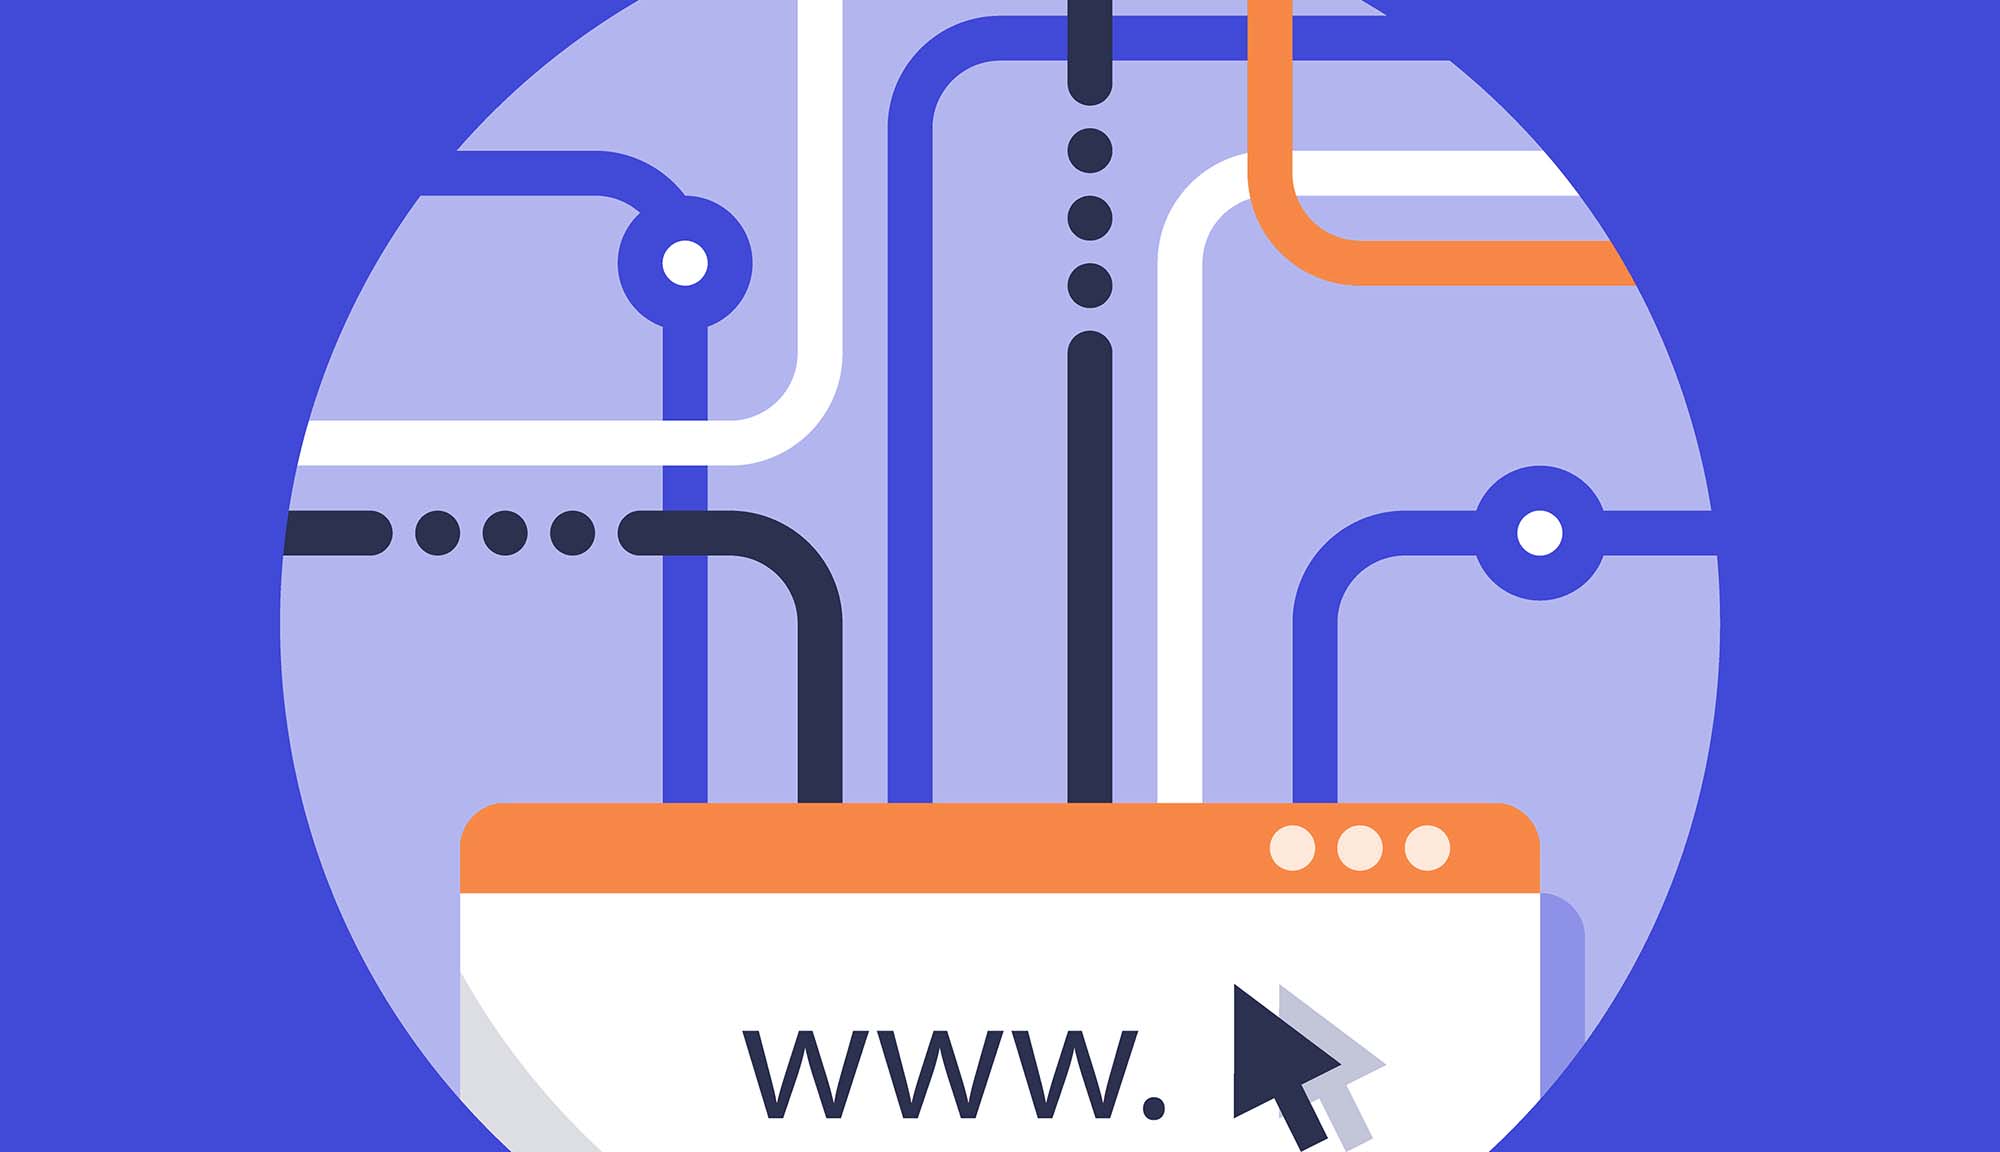
If you want to use a subdomain like shop.yourdomain.com for Shopify, the setup is usually simple: add the subdomain in Shopify, then point its CNAME record to shops.myshopify.com at your domain provider. In my experience building Shopify apps and helping merchants troubleshoot domain issues, this is one of those jobs that sounds technical but is normally a 10 to 30 minute task once you know which DNS record to edit.
This guide is a more complete, up-to-date version of the usual help docs. I will cover Shopify-managed domains, third-party domains, regional subdomains, SEO implications, common DNS mistakes, and when a subdomain is the wrong choice entirely.
What is a subdomain on Shopify?
A subdomain is a prefix added before your root domain, such as shop.example.com, blog.example.com, or uk.example.com. On Shopify, a subdomain can point to your store, a market-specific experience, or another web property depending on how you configure DNS and domain settings.
For example, if your main domain is yourstore.com, then shop.yourstore.com is a subdomain. The root domain stays the same, but the subdomain creates a separate address that can be used for a different section, region, or storefront experience.
In practice, I most often see merchants use subdomains for international markets, headless storefronts, wholesale portals, or when their main website is on WordPress, Webflow, or another platform and they want the actual shop to live on Shopify.
Why would you use a subdomain for a Shopify store?
The main reason to use a subdomain is to keep your setup organised while still using the same brand domain. It is especially useful when your main site and your Shopify storefront need to live separately.
Here are the most common use cases I see:
- Main site on another platform, store on Shopify - for example, www.brand.com on Webflow and shop.brand.com on Shopify
- International storefronts - such as uk.brand.com, fr.brand.com, or ca.brand.com
- Wholesale or trade storefronts - for example, wholesale.brand.com
- Campaign or product-line separation - such as outlet.brand.com or custom.brand.com
- Operational separation - when different teams manage different experiences
Subdomains can work very well, but they are not automatically the best SEO option. If your goal is organic search growth, you should think carefully about whether a subfolder would be stronger than a subdomain.
Is a subdomain bad for SEO?
No, a subdomain is not inherently bad for SEO, but search engines often treat it as a separate property. That means it usually needs its own optimisation, internal linking, and authority building.
This is where a lot of merchants get caught out. They assume shop.brand.com will inherit all the ranking strength of brand.com. In reality, Google can understand the relationship, but a subdomain still tends to behave more like a separate site than a subfolder such as brand.com/shop.
In my experience, subdomains are perfectly fine when there is a technical or operational reason to use them. But if you are creating one just because it feels tidier, I would stop and review the SEO trade-off first. If AI visibility matters to you as well, read How to Get Your Shopify Store into ChatGPT: Step-By-Step Guide and How to Optimize Your Shopify Store for AI Shopping Agents.
How do I configure a subdomain for Shopify?
To configure a subdomain for Shopify, add it in Shopify under Settings > Domains and then create or update a CNAME record at your domain provider so the subdomain points to shops.myshopify.com. You do not normally need a separate A record for the subdomain.
The exact steps depend on whether your domain is managed by Shopify or by a third-party registrar such as GoDaddy, Cloudflare, Namecheap, Bluehost, or SiteGround.

How do I connect a third-party subdomain to Shopify?
If your domain is hosted outside Shopify, the process is: connect the subdomain in Shopify, then edit DNS at your registrar. This is the setup most merchants use.
- In your Shopify admin, go to Settings > Domains.
- Click Connect existing domain.
- Enter the full subdomain, such as shop.yourdomain.com.
- Shopify will show you the DNS instructions.
- Log in to your domain provider and open the DNS zone editor.
- Create or edit a CNAME record.
- Set the Name / Host to the subdomain label only, such as shop, not the full domain, unless your provider specifically requires the full value.
- Set the Target / Points to / Value field to shops.myshopify.com.
- Save the record and return to Shopify.
- Wait for verification and DNS propagation.
Shopify's own help documentation confirms that for a third-party subdomain, the key DNS step is pointing the CNAME to shops.myshopify.com. You can read the official instructions here: Connecting a third-party subdomain to Shopify.
One of the most common mistakes I see is merchants entering the full domain in the Name field when the DNS provider expects only the label. So instead of shop.yourdomain.com, the correct value might just be shop. This varies by provider, which is why Shopify community threads on DNS confusion keep appearing.
How do I add a subdomain if my domain is managed by Shopify?
If your domain is purchased through Shopify, adding a subdomain is easier because Shopify manages the DNS for you. In many cases, you can create the subdomain directly from the admin without logging into a separate registrar.
- Go to Settings > Domains.
- Click your root domain.
- Find the Subdomains section.
- Click Add subdomain.
- Enter the prefix, such as shop, uk, or wholesale.
- Click Save.
- If needed, click the subdomain and choose whether it should be primary, redirect, or alias.
For Shopify-managed domains, Shopify can automatically handle the underlying DNS entries. That is much more forgiving for non-technical merchants.
What DNS records do I need for a Shopify subdomain?
For most Shopify subdomain setups, you only need a CNAME record that points the subdomain to shops.myshopify.com. You usually do not need an A record for the subdomain.
This is an important distinction. The root domain often uses an A record pointing to Shopify's IP address, but a subdomain uses a CNAME. If you add the wrong record type, verification may fail or the subdomain may point somewhere unexpected.
| Setup type | Typical record | Name / Host | Value / Target | Notes |
|---|---|---|---|---|
| Root domain to Shopify | A record | @ | Shopify IP | Used for example.com |
| www to Shopify | CNAME | www | shops.myshopify.com | Very common default setup |
| Subdomain to Shopify | CNAME | shop / uk / wholesale | shops.myshopify.com | Most relevant for this guide |
If you are using Cloudflare, make sure you understand whether the DNS record is proxied or DNS only. In some cases, proxying can complicate verification. If a subdomain is not connecting properly, temporarily switching the record to DNS only is often worth testing.
How long does Shopify subdomain verification take?
Subdomain verification can happen in a few minutes, but DNS propagation can take up to 48 hours. In reality, most working configurations I have tested resolve much faster, often within 15 minutes to 2 hours.
If Shopify still says the domain is unverified after a while, do not keep changing records every five minutes. That usually makes things worse. Check the current DNS record carefully, confirm the host value is correct for your provider, and then wait for propagation to complete.
You can use external tools like DNS Checker to see whether your CNAME has propagated globally.
How do I set a Shopify subdomain as my primary domain?
After the subdomain is connected and verified, you can set it as the primary domain in Shopify if you want customers to browse the store on that address. This is useful when your main website stays on another platform and Shopify handles only the shop.
- Go to Settings > Domains.
- Find the connected subdomain.
- Click it and choose Set as primary if the option is available.
- Shopify will redirect traffic from your other connected Shopify domains to the primary one.
Be careful here. If your SEO setup is already established on another domain version, changing the primary domain can affect canonical signals, redirects, indexing, and analytics. I would always check Search Console and analytics after making the switch.
How do I use subdomains for international markets on Shopify?
Subdomains are one of the standard ways to structure international Shopify stores. Common examples include uk.brand.com, fr.brand.com, and ca.brand.com.
Shopify supports international selling through Shopify Markets, and subdomains can be assigned to specific countries or regions. If you want localised experiences with local currencies, languages, or product availability, this can be a solid setup.
The usual best practice is to use two-letter country codes where possible, especially when the subdomain represents a country-specific storefront. Examples include:
- uk.brand.com for the United Kingdom
- fr.brand.com for France
- ca.brand.com for Canada
- eu.brand.com for a broader regional setup
From a user experience point of view, these are clear and familiar. From an operational point of view, they are easier to manage than inventing branded subdomain names for each market.
What are the limits on Shopify domains and subdomains?
Shopify allows a limited number of connected domains and subdomains depending on your plan. According to current Shopify guidance, standard plans support up to 20 domains and subdomains in total, while Shopify Plus supports up to 1,000.
This matters more than most merchants realise. If you run multiple markets, campaign domains, landing subdomains, and regional storefronts, you can hit the standard limit sooner than expected. If your brand is expanding internationally, it is worth planning domain structure early rather than patching it later.
If you are already operating at a larger scale, my advice is to review whether it is time to move upmarket. This related guide may help: When to Upgrade Your Store to Shopify Plus.
What is the difference between a subdomain, primary domain, redirect, and alias?
A subdomain is the address itself, while the domain type controls how Shopify treats it. The most important distinction is whether the domain is the one customers see in the browser or whether it simply redirects elsewhere.
| Term | What it means | Best use case |
|---|---|---|
| Subdomain | A child address like shop.example.com | Regional stores, wholesale, separate shop |
| Primary domain | The main address Shopify shows to visitors | Your preferred live storefront URL |
| Redirect domain | Sends users to another connected domain | Protecting alternate versions of the URL |
| Alias domain | Connected variant that points at the same store | Supporting multiple entry points |
If you are unsure which one to use, the answer is usually simple: connect the subdomain, verify it, and only set it as primary if that is the address you actually want customers and search engines to use.
What are the most common Shopify subdomain mistakes?
The most common Shopify subdomain problems are caused by incorrect DNS values, conflicting records, or misunderstanding how the DNS editor expects the host name to be entered. These issues are easy to fix once you know what to look for.
- Using an A record instead of a CNAME for the subdomain
- Entering the full domain in the Name field when only the label is required
- Leaving an old conflicting DNS record in place
- Expecting instant propagation and changing records repeatedly
- Trying to connect a subdomain that is already in use elsewhere
- Forgetting to verify in Shopify after DNS changes
- Switching the primary domain without checking redirects and SEO
In my experience, the fastest way to debug is to answer three questions: What exact hostname am I connecting? What exact record type should it use? What exact value should it point to? For a standard Shopify subdomain, that answer is nearly always CNAME + subdomain label + shops.myshopify.com.
Should I use a subdomain or a subfolder for Shopify?
If your store is fully on Shopify, the root domain or a clean primary domain is often best. If your main site is elsewhere and Shopify only powers the shop, a subdomain is usually the practical choice.
| Option | Best for | Pros | Cons |
|---|---|---|---|
| Subdomain | Separate platforms or regional storefronts | Flexible, clean separation, easy operational split | SEO authority may be more fragmented |
| Subfolder | Single-site SEO strategy | Often stronger for consolidated authority | Harder when platforms are different |
| Root domain | Shopify as the main website | Simplest branding and canonical setup | Less flexibility if content lives elsewhere |
There is no universal winner. The best option depends on your stack, your SEO goals, and how your team works. If your website is on WordPress and your store is on Shopify, shop.brand.com is often the cleanest answer.
How do I troubleshoot a Shopify subdomain that will not connect?
If your Shopify subdomain will not connect, the fix is usually to review the DNS record line by line. Most failures come down to the wrong host value, the wrong record type, or a DNS conflict.
- Check that the record type is CNAME.
- Check that the target is exactly shops.myshopify.com.
- Check whether the host should be shop or shop.example.com based on your provider's format.
- Remove conflicting records for the same host.
- Wait for propagation.
- Return to Settings > Domains in Shopify and retry verification.
- If using Cloudflare, test with DNS only rather than proxied mode.
If the issue is still unresolved after 24 to 48 hours, I would check the official Shopify documentation and then contact your registrar or Shopify Support with screenshots of the DNS zone. The official Shopify domain docs are here: Shopify Domains documentation.
What is my practical advice before changing Shopify domain structure?
Before you move a live store to a subdomain, make sure you understand the knock-on effects for SEO, analytics, email flows, and app integrations. Domain changes are not just cosmetic.
Here is the checklist I follow when advising merchants:
- Back up your current domain settings with screenshots
- Check Google Search Console properties for the current and future domain versions
- Review tracking tools such as GA4, Meta Pixel, and ad landing URLs
- Check email and transactional links after the switch
- Test redirects and canonicals on key pages
- Monitor indexing and crawl errors for at least two weeks
If your store depends heavily on SEO, I would also review your technical setup more broadly. These guides may help: The Hidden Truth About Shopify Speed Optimization Scams and Shopify’s New Unlisted Product Status: What It Means for Your Store.
Frequently asked questions about Shopify subdomains
These are the questions I hear most often from merchants setting up Shopify on a subdomain.
Can I use shop.mydomain.com for Shopify and keep my main site elsewhere?
Yes, and this is one of the most common setups. Your main site can stay on WordPress, Webflow, or another platform while shop.mydomain.com points to Shopify.
This is often the cleanest option for brands that treat content and commerce as separate systems.
Do I need to transfer my domain to Shopify to use a subdomain?
No, you do not need to transfer the domain. You can keep the domain with your current registrar and simply update the DNS records.
That is exactly how most third-party subdomain connections work.
Can I connect a blog subdomain like blog.mydomain.com to Shopify?
Yes, but whether you should depends on where the blog is hosted. If the blog is not on Shopify, you would point the subdomain to that other platform instead.
Only point the subdomain to shops.myshopify.com when the destination is your Shopify store.
Does Shopify automatically create the DNS record for my subdomain?
Only if your domain is managed by Shopify. If your domain is with a third-party provider, you need to create or edit the DNS record yourself.
This is why the registrar login matters before you start.
Can I have multiple Shopify subdomains?
Yes, subject to your plan limits. Standard Shopify stores can have up to 20 domains and subdomains, while Shopify Plus supports up to 1,000.
That is enough for most merchants, but multi-market brands should still plan carefully.
Is the www version a subdomain?
Yes. Technically, www is also a subdomain of your root domain.
It is just the most familiar one, so people often forget it counts as a subdomain.
Final thoughts on configuring subdomains for Shopify
Configuring a Shopify subdomain is usually straightforward once you know the rule that matters most: subdomains generally connect via a CNAME to shops.myshopify.com. The rest is mostly about entering the host value correctly, waiting for propagation, and deciding whether the subdomain should become your primary storefront URL.
In my experience, the technical setup is the easy bit. The more important decision is strategic: should you use a subdomain at all, and if so, how will it affect SEO, international structure, and customer experience? If you answer that properly before touching DNS, you will avoid most of the pain merchants run into later.