The easiest way to add lazy loading to your Shopify store in 2026 is to use the native loading="lazy" attribute on below-the-fold images. In most modern Shopify themes, this is either already built in or can be added in a few minutes without installing another app or script.
As a Shopify app developer, I spend a lot of time looking at storefront performance issues that quietly hurt conversion rate. Image-heavy product pages, oversized collection grids, and media-rich homepage sections are still some of the biggest speed problems I see. Lazy loading is not a silver bullet, but it is one of the quickest low-risk wins for stores that want faster initial loads without redesigning the whole theme.
In this guide, I’ll show you what lazy loading is, how to check if your theme already supports it, the best manual implementation for 2026, when to use a JavaScript library, and which images you should never lazy load.
What is lazy loading in Shopify?
Lazy loading is a performance technique that delays loading off-screen media until a visitor is about to see it. On Shopify, it is mainly used for product images, collection thumbnails, blog images, and sometimes videos or iframes.
Instead of forcing the browser to download every image on the page immediately, lazy loading tells it to prioritise what is visible first. That shortens the critical rendering path and often reduces the initial page weight by 40 to 70% on image-heavy pages. In practical terms, that usually means the page feels faster, becomes interactive sooner, and wastes less data on mobile connections.
Even though average internet speeds are better than they were a few years ago, real-world Shopify traffic is messy. Customers browse on weak 4G, old phones, overloaded office Wi-Fi, and low-power devices. Perceived speed still matters, and lazy loading helps the visible part of the page load first.
Does Shopify already have native lazy loading?
Yes, many modern Shopify themes already include some native lazy loading. If your store uses a newer Online Store 2.0 theme such as Dawn or a theme built on similar patterns, there is a good chance that at least some images already use loading="lazy".
This is the first thing I recommend checking before editing any code. I have seen plenty of merchants install an app or add a script to solve a problem their theme had already handled. That adds extra JavaScript for no real gain, which is the opposite of what you want when optimising performance.
- Open your storefront in Chrome or Safari.
- Right-click a product image or collection image and click Inspect.
- Look for the image HTML.
- If you see
loading="lazy", that image is already lazy loaded.
If your theme already does this for most below-the-fold images, you may only need to improve a few specific sections rather than overhaul the entire store.
How do I add lazy loading to my Shopify store in 2026?
The best method in 2026 is to use native HTML lazy loading on below-the-fold images and keep above-the-fold images eager. For most stores, this is the recommended approach for 90% of use cases.
Native lazy loading is supported by all major modern browsers, and it avoids the performance overhead of older jQuery-based solutions. It is also much cleaner to maintain over time, especially if you are working in a Shopify theme that already uses Shopify’s image filters and responsive image output.
How do I add native lazy loading step by step?
The safest way is to duplicate your theme first, then update image tags in the sections and snippets that render below-the-fold images. Always test on a duplicate before publishing.
- In Shopify admin, go to Online Store and then Themes.
- Click Actions on your live theme and choose Duplicate.
- Open the duplicated theme and click Actions > Edit code.
- Search for
<imgor look through files such as product sections, collection cards, blog cards, featured collection sections, and gallery snippets. - Add
loading="lazy"to images that are not visible on first paint. - Also add width and height attributes where possible to reduce layout shift.
- Preview the duplicated theme and test it in Google PageSpeed Insights.
Here is the core pattern I recommend:
<img
  src="{{ image | image_url: width: 600 }}"
  alt="{{ image.alt | escape }}"
  width="{{ image.width }}"
  height="{{ image.height }}"
  loading="lazy"
  decoding="async"
/>
Width and height matter. Lazy loading without dimensions can still cause CLS issues if the browser does not know how much space to reserve. In my experience, merchants often add lazy loading but forget the layout stability side of the equation.
How do I use Shopify's image_tag filter for lazy loading?
The cleanest Shopify-native method is often to use image_tag with loading parameters. This keeps your Liquid more readable and works well in modern themes.
If your theme already uses Shopify image objects, this is usually the version I prefer when editing client stores or testing app embeds:
{{ image | image_url: width: 600 | image_tag: alt: image.alt, loading: 'lazy' }}You can also pass dimensions and other attributes depending on the section. This is especially useful when you want consistent output across collection cards, article cards, and product media snippets.
Which Shopify images should not be lazy loaded?
You should not lazy load above-the-fold images. That includes your hero banner, the first visible product image, and any image likely to become the Largest Contentful Paint element.
This is where many lazy loading tutorials go wrong. They tell merchants to add loading="lazy" everywhere, which can actually make performance worse. If the browser delays your most important visible image, your LCP can get slower, not faster.
For key images at the top of the page, use:
<img
  src="{{ image | image_url: width: 1200 }}"
  alt="{{ image.alt | escape }}"
  width="{{ image.width }}"
  height="{{ image.height }}"
  loading="eager"
  fetchpriority="high"
/>
Good candidates for eager loading:
- Homepage hero image
- First product gallery image
- Main collection banner if visible immediately
- Above-the-fold promotional graphics
Good candidates for lazy loading:
- Related products
- Collection grid images further down the page
- Blog thumbnails below the fold
- Secondary product gallery images
- Footer badges and lower-page content images
How do I automate eager vs lazy loading with Liquid?
You can use Liquid logic to load the first visible image eagerly and mark later images as lazy. This is one of the best ways to avoid accidental LCP regressions.
Here is a simple pattern based on section blocks:
{%- liquid
  assign first_section = true
-%}
{%- for block in section.blocks -%}
  {%- if first_section -%}
    {%- assign loading_strategy = 'eager' -%}
    {%- assign fetch_priority = 'high' -%}
    {%- assign first_section = false -%}
  {%- else -%}
    {%- assign loading_strategy = 'lazy' -%}
    {%- assign fetch_priority = 'auto' -%}
  {%- endif -%}
  {{- block.settings.image | image_tag: loading: loading_strategy, fetchpriority: fetch_priority -}}
{%- endfor -%}
I like this approach because it is repeatable, theme-friendly, and less likely to be broken by future content changes. If a merchant reorders blocks in the customiser, the first visible image still gets priority.
What is the best legacy method for lazy loading in Shopify?
If you need lazy loading for videos, iframes, or broader fallback support, a lightweight JavaScript library can still make sense. In 2026, I would use lazysizes rather than old jQuery lazy load plugins.
The original jQuery lazyload approach still appears in older tutorials, but I would not recommend it for most stores now. It adds unnecessary dependency weight and feels dated in a modern Shopify stack.
How do I add lazysizes to Shopify?
Upload the script to your theme assets, include it in theme.liquid, and then mark specific media elements with the appropriate lazyload class and data attributes.
- Download lazysizes.min.js from GitHub.
- In Shopify admin, go to Online Store > Themes > Edit code.
- Upload the file to the Assets folder.
- Add this before
</head>intheme.liquid:
{{ 'lazysizes.min.js' | asset_url | script_tag }}Then update your image markup like this:
<img
  class="lazyload"
  src="{{ image | image_url: width: 50 }}"
  data-src="{{ image | image_url: width: 600 }}"
  width="600"
  height="400"
  loading="lazy"
  alt="{{ image.alt | escape }}"
/>
The tiny placeholder in src gives the browser something lightweight to render first, while the real image sits in data-src. I mainly use this type of setup when testing advanced lazy loading on custom media-heavy sections, not as a default recommendation.
Should I still use a jQuery lazy load script?
No, not unless you have a very specific legacy requirement. Native lazy loading is simpler, faster, and easier to maintain than older jQuery plugins.
The old method from many Shopify blog posts looks like this:
{{ '//cdnjs.cloudflare.com/ajax/libs/jquery.lazyload/1.9.1/jquery.lazyload.min.js' | script_tag }}And then:
$(document).ready(function(){$("img.lazyload").lazyload();});That still works in some older setups, but it is not the modern best practice. Every extra script has a cost, and if your goal is speed, adding old dependencies should be the exception rather than the rule. If you are reviewing scripts more broadly, my guide on how to async load or defer a JS file in Shopify is worth reading alongside this one.
How much can lazy loading improve Shopify speed?
Lazy loading can produce meaningful gains, especially on collection pages and product pages with lots of images. On image-heavy stores, I have seen the initial page weight drop by 40 to 70% and PageSpeed mobile scores improve from around 38 to 65 after image loading changes were combined with other basic fixes.
That does not mean every store will get the same result. If your theme is already well-optimised and most images are already lazy loaded, the uplift may be modest. But if you are loading 30 product cards, multiple badges, review widgets, and a long homepage of sections all at once, the gains can be very noticeable.
Lazy loading also supports better Core Web Vitals when implemented properly:
- LCP can improve if off-screen assets stop competing with the main visible image.
- CLS improves when dimensions are included on images.
- INP can benefit indirectly if the page has less work to do during initial load.
If site speed is a broader issue for your store, I would also read 4 Focus Areas to Increase the Speed of Your Shopify Store and How to Speed up Your Shopify Theme. Lazy loading works best as part of a wider performance cleanup, not as a standalone fix.
What else should I combine with lazy loading for better results?
The best results come from combining lazy loading with responsive images, modern formats, and script control. Lazy loading helps with when an image loads, but you also need to optimise what gets loaded.
Here are the supporting fixes I usually recommend:
- Use Shopify's image_url filter to request sensible dimensions instead of serving oversized originals.
- Serve modern formats where Shopify can provide them, such as WebP.
- Add width and height to prevent layout shift.
- Reduce unnecessary apps that inject scripts into every page.
- Defer non-critical JavaScript where possible.
- Optimise collection grids because those often contain the most repeated media.
In my experience building Shopify apps, merchants often focus entirely on image compression and ignore loading strategy. The reverse also happens. The truth is you need both. If you are trying to lift conversion rate as well as speed, my posts on optimising conversion rate on Shopify and increasing sales quickly on Shopify fit nicely with this topic.
How do I test whether lazy loading is working?
You should test both the HTML output and the real performance impact. Seeing loading="lazy" in the markup is useful, but it is not enough on its own.
- Inspect image HTML in your browser and confirm the correct loading attributes are present.
- Scroll through the page and watch the Network panel in DevTools to see if images load on demand.
- Run the page through PageSpeed Insights.
- Check Lighthouse or Chrome DevTools for image and layout warnings.
- Compare before-and-after results on the same URL and device type.
When I test this on client stores, I usually focus on homepage, collection page, and top-selling product page. Those are the templates that tend to reveal whether your implementation is genuinely helping or just shifting problems around.
What are the most common Shopify lazy loading mistakes?
The biggest mistakes are lazy loading everything, forgetting image dimensions, and stacking a speed app on top of a theme that already does the job. These are easy to fix once you know what to look for.
| Mistake | Why it hurts | Better approach |
|---|---|---|
| Lazy loading hero images | Can slow LCP and make the page feel slower | Use loading="eager" and fetchpriority="high"
|
| No width and height attributes | Causes layout shift and weaker CLS | Output dimensions on every image where possible |
| Using old jQuery plugins | Adds unnecessary JavaScript overhead | Use native lazy loading or lazysizes only if needed |
| Serving huge originals | Lazy loading does not fix oversized files | Use Shopify image sizing and compression |
| Installing multiple speed apps | Can create conflicts and duplicate logic | Audit your theme first, then add only what is missing |
This is one reason I prefer merchants to start with a manual audit. Speed apps can be useful, but they can also create a false sense of optimisation while adding extra code you do not need.
Should I use an app to add lazy loading to Shopify?
Yes, if you are not comfortable editing theme code or you want broader image optimisation features in one place. But for pure lazy loading alone, an app is often not necessary on modern themes.
As someone who builds Shopify apps myself, I try to be honest about this: the best solution is not always another app. If your theme only needs a couple of Liquid edits, that is usually the leaner option. An app makes more sense when you also want image compression, SEO cleanup, loading effects, or a simpler no-code workflow.
Which Shopify apps can help with lazy loading?
The most relevant options here are apps that bundle lazy loading with broader speed or image optimisation features. They are best for merchants who want convenience over manual control.
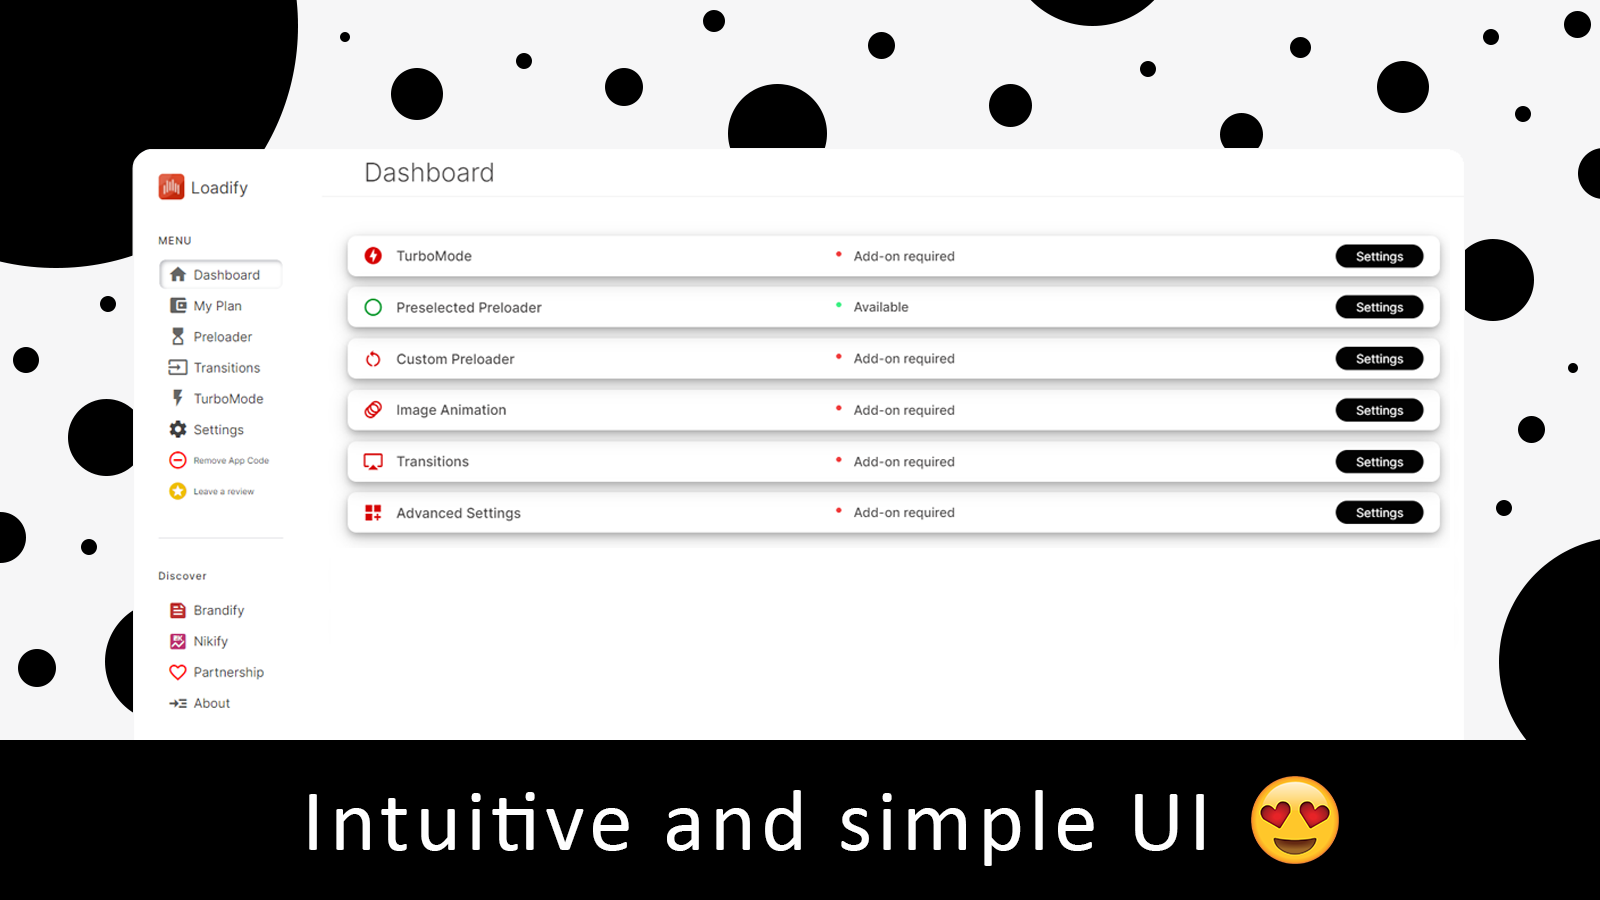
Loadify
Loadify focuses on loading screens, smoother transitions, and performance-related enhancements including lazy loading behaviour. It is best for stores that want UX polish as well as speed tweaks.
![]()
Loadify can be useful if you want a more visual approach to perceived performance. I would not install it just for basic image lazy loading, but it may suit merchants who also care about transitions and branded loading states.
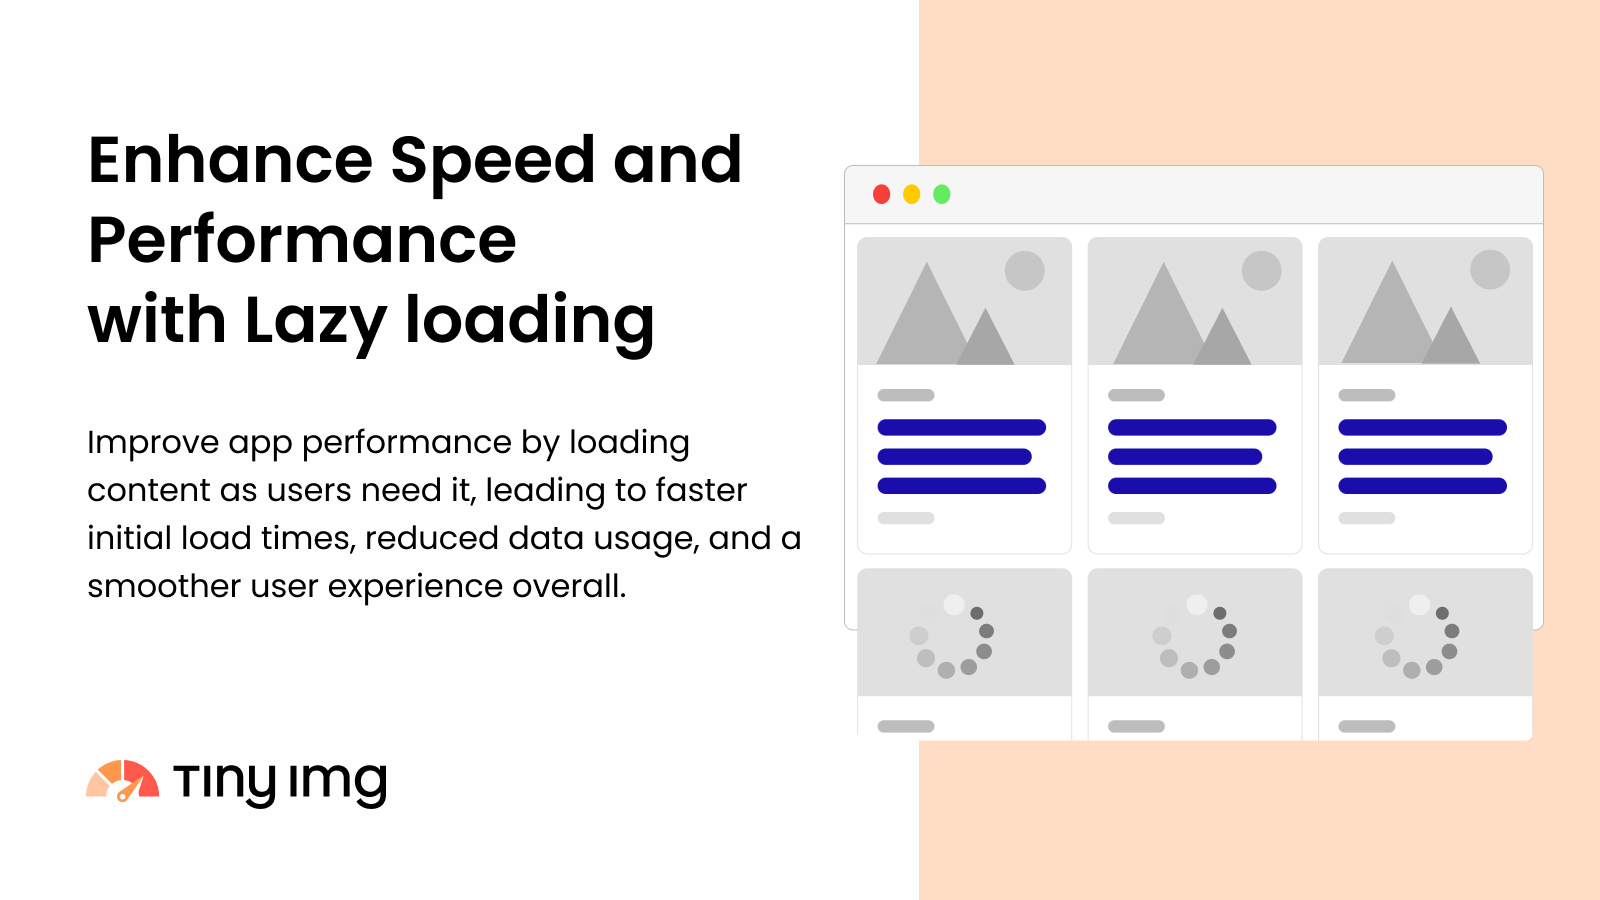
Tiny SEO Image optimise
Tiny SEO Image optimise, also known as TinyIMG, is the more practical choice if your real issue is broader image optimisation rather than lazy loading alone. It is best for image-heavy stores that also want SEO tooling.
![]()
TinyIMG includes image compression, SEO features, alt text support, redirects, and performance tools. If I were choosing between the two for a merchant with thousands of product images, TinyIMG is usually the more practical pick because lazy loading works best when paired with properly sized and compressed assets.
What is the best method overall?
The best method overall is native lazy loading with sensible exceptions for above-the-fold images. It is the fastest to implement, the easiest to maintain, and the most aligned with how modern Shopify themes work in 2026.
| Method | Best for | Pros | Cons |
|---|---|---|---|
Native loading="lazy"
|
Most Shopify stores | Simple, lightweight, browser-supported, no extra app | Needs manual code edits if theme lacks support |
Shopify image_tag filter |
Modern themes and cleaner Liquid | Shopify-native, readable, flexible | Still requires theme editing |
| lazysizes | Videos, iframes, custom cases | More control, broader media support | Adds JavaScript and setup complexity |
| App-based setup | Non-technical merchants | Quick setup, bundled optimisation features | Can add extra code and monthly cost |
| Old jQuery lazy load | Legacy themes only | Works in older environments | Outdated and rarely worth using now |
How do I decide whether to edit code or use an app?
If your theme is modern and you are comfortable making a few Liquid edits, code is usually the best route. If you want a no-code setup and broader image optimisation tools, an app can be a reasonable shortcut.
My practical rule is simple:
- Use code if you only need lazy loading or a couple of performance fixes.
- Use an app if you also need compression, SEO image handling, redirects, or a friendlier interface.
- Do not use both blindly without checking whether your theme already handles lazy loading.
That last point matters. I have audited stores where three different tools were trying to optimise the same images. The result was more code, more debugging, and not much real speed improvement.
Final thoughts on adding lazy loading to Shopify in 2026
Lazy loading is still one of the easiest performance wins for Shopify stores in 2026, but only when it is implemented with a bit of care. Below-the-fold images should usually be lazy loaded, while hero and LCP images should load eagerly.
If you take one thing from this guide, let it be this: do not lazy load everything. Start by checking whether your theme already supports native lazy loading, then improve the sections that need it most. Add dimensions, use sensible image sizes, and test the results properly.
In my experience, the stores that get the best speed gains are not the ones chasing every trick. They are the ones making a handful of technically sound changes and measuring the outcome. Lazy loading fits that perfectly.